

From a raw slab to a river table that every visitor will ask about
Are you planning to create a unique epoxy resin table, one that combines the beauty of solid wood with crystal-clear resin?
With the epoxy resin LuminaCast 9 Ocean Flow, which meets food-contact certification (1935/2004 EC), you get not only a beautiful design but also a safe and durable surfacethat you can use without worry even in the kitchen or dining room. This professional low-viscosity resin is ideal for casting tables, worktops and serving trays and other furniture where high mechanical strength and long service life are essential.
To make your project a success, we have prepared a detailed guidethat will guide you through the entire process of making an epoxy resin table – from choosing the right wood, preparing it and pouring the resin, through to the final adjustments and surface finish. With LuminaCast 9 Ocean Flow and our guide you will achieve professional results, whether you are an experienced craftsman or a complete beginner.
- a solid slab with a striking grain (moisture below 12%)
- casting resin LuminaCast 9 Ocean Flow
- a sealer, LuminaCast 1 Fast Set Primer
- a mould from PP boards or MDF with release tape
- pigments to match your design
- an accurate scale, cups and a stirrer
- KOVAX abrasives + a random-orbital sander
- a final protection – oil, wax or varnish
How much time to set aside
Why choose LuminaCast 9 Ocean Flow for your epoxy resin table?
Let's take a look at the complete process of making an epoxy resin tablethat will give your interior a unique style and elegance.
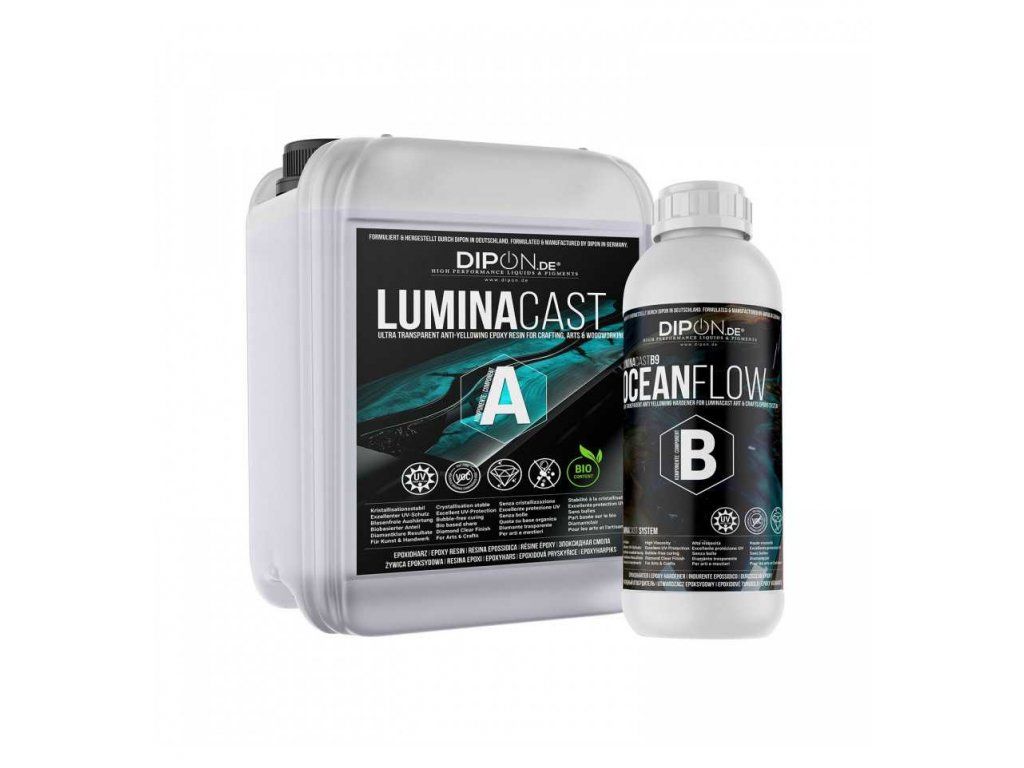
LuminaCast 9 Ocean Flow
- Certificate 1935/2004 EC
- Mixing ratio 2:1 by weight.
- Casting height up to 10 cm and a working time of up to 240 minutes.
- Optimised for casting tables and making lamps or jewellery where a greater casting height is required.
- Creates an incomparably smooth and glossy surface.
01Choosing wood for an epoxy resin table – how to prepare it correctly?
The right choice of wood is a key step in making an epoxy resin table, because it affects not only the appearance but also the quality and durability of the finished piece. When combining wood with epoxy resin it is important to follow a few principles that ensure a strong bond, minimal defects and long service life of the final product.

Which wood to choose?
When choosing wood for an epoxy resin table look for material with an interesting grain, shape and structurethat will give your table a unique look. Ideal choices are solid slabs with natural edges (live edge) or original pieces with cracks and knotsthat can be creatively filled with epoxy.
Recommended types of wood:

Oak
hard, durable and with a beautiful texture

Walnut
a darker shade and elegant structure

Ash
light, flexible and easy to work

Exotic wood
e.g. teak, acacia – high resistance to moisture

Wood moisture – why does it matter?
Undried wood can, in contact with epoxy resin, crack, warp or cause the resin to peel off, which ruins the entire project. That is why it is essential to work with wood that has a moisture content below 12%, ideally below 10%.
How to measure wood moisture?
Using a moisture meter helps you determine whether the wood is ready to use. There are hobby moisture meters as well as professional devices – we recommend at least a basic model for more accurate checking.

Preparing the wood for epoxy pouring
Before you start pouring epoxy resin, the wood needs to be prepared correctly:
- Sanding the surface – removing dirt, grease and any unevenness
- Sealing with resin – applying a thin layer of epoxy prevents air bubbles from forming (especially with porous woods)
- Sealing cracks and knots – filling defects before the main pour prevents cracking
- Quality solid wood with a striking grain for an attractive look
- Low moisture (below 10–12%) to minimise warping and cracking
- Proper surface preparation, sealing and filling for a perfect result
02Sealing the wood – a key step for a perfect result
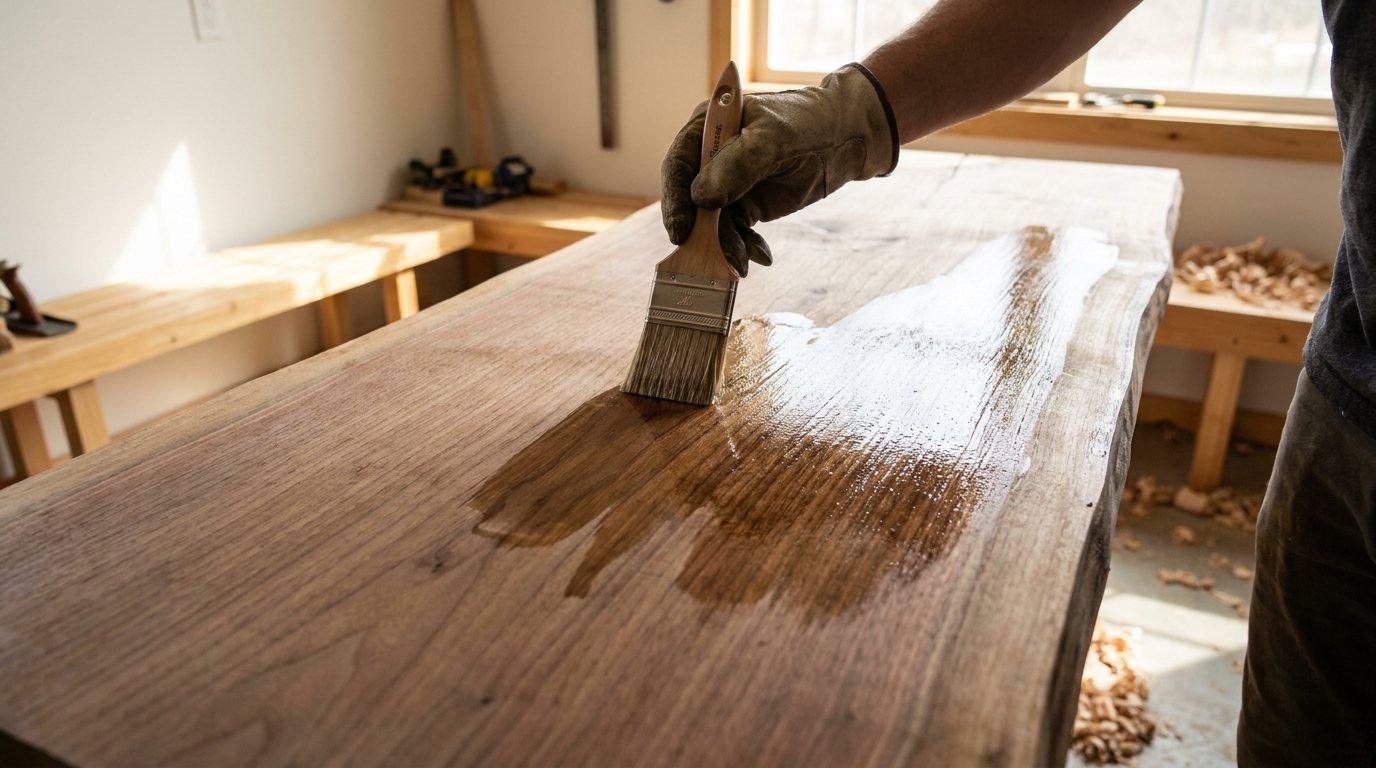
Before the actual pouring of the epoxy resin the wood needs to be sealed correctly, to prevent air bubbles from forming and to improve the resin's adhesion to the surface. Wood is a porous materialthat contains tiny air pockets. If the surface is not sealed with a primer layer, it can lead to unwanted air escaping into the epoxy, which causes bubbles and defects in the final casting.
Preparing the wood before sealing
Before you proceed to the sealing itself, it is important to thoroughly clean and prepare the wood:
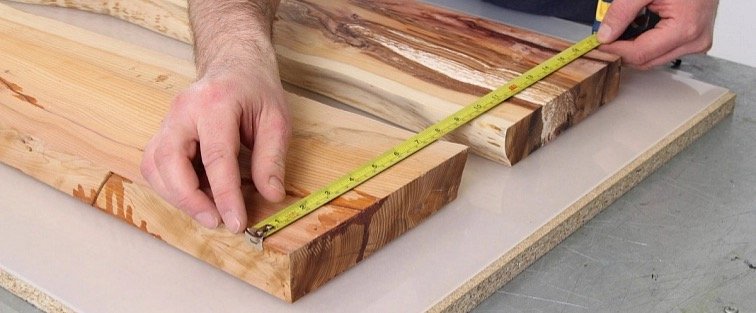
- Cutting to the required dimensions – trim the wood to the final size of the table
- Removing bark and loose parts – eliminate unwanted wood debris that could spoil the smoothness of the surface
- Cleaning off dirt and sawdust – use a brush, air gun or cloth to remove dust and sawdust
- Drying the surface – make sure the wood is not damp, to prevent a reaction with the resin
How does sealing the wood work?
Sealing the wood consists of applying a thin layer of epoxy resinthat seals the pores of the wood and prevents air from escaping while the main casting cures. There are two main sealing methods:
| Casting resin | Fast penetrating resin | |
|---|---|---|
| What you use | the same resin as for the main pour | a special laminating resin with low viscosity |
| Application | a thin layer with a brush or roller | fast penetration deep into the wood, strengthening and sealing the surface |
| Waiting before pouring | dry to a tacky surface (approx. 4–6 hours) | shorter curing time (usually 1–3 hours) |
| Disadvantage | ✗ longer curing time and the need for precise application | ✗ requires a special sealer that must be compatible with the epoxy |

- Prevents bubbles from forming in the epoxy resin
- Improves the epoxy's adhesion to the wooden surface
- Ensures even absorption of the resin and eliminates blotches
- Protects the wood from excessive epoxy soak-in and warping
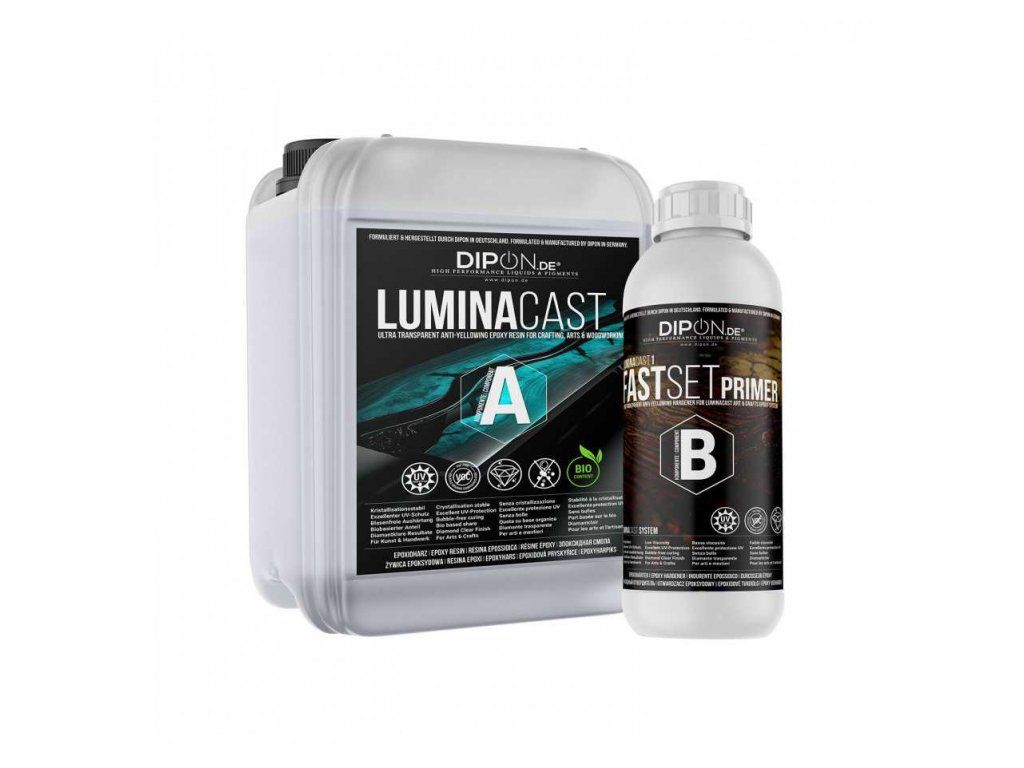
LuminaCast 1 Fast Set Primer sealing resin
- Highly effective sealer – specially developed for sealing wood and other absorbent surfaces
- Deep sealing – penetrates deep into the fibres and structure of the material
- Fast working time – at room temperature the primer coat can be overpoured with epoxy in as little as 60–120 minutes
- Minimises air bubbles – effectively seals the pores and reduces the risk of air escaping into the epoxy resin
- Compatible with casting epoxies – an ideal base layer for deep castings, table tops, art projects and laminating
- Increased epoxy adhesion – creates a strong bond between the substrate and the cast resin
03Building a mould for casting epoxy resin – how to do it?
When making an epoxy resin table a quality mould is absolutely essential for achieving a perfect shape, a smooth surface and easy demoulding. Choosing the right material and technique affects not only the look of the final product but also makes the work easier and minimises the risk of the epoxy resin sticking to the mould.
Which material to use for the mould?
For making epoxy resin moulds you can use several types of material, each with its own advantages and disadvantages:
| Material | Advantages | Disadvantages | Needs a release agent? |
|---|---|---|---|
| Polypropylene (PP) | non-stick to epoxy, reusable, smooth surface | more demanding to cut and join precisely | ✓ no |
| MDF boards and plywood | affordable, easy to shape | epoxy sticks to them | ✗ yes – release tape or coating |
| Silicone mould | ideal for smaller castings, flexible | more demanding to make, higher cost | ✓ no |
The most commonly used material for making epoxy resin table moulds is polypropylene (PP) or MDF boards treated with release tape.
Polypropylene mould – the best solution for casting epoxy
Polypropylene (PP) is one of the best materials for making epoxy resin moulds, because:
- Epoxy does not stick to it, so there is no need to use a release agent
- It can be reused – an economical solution for frequent casting
- High mechanical resistance – it does not absorb resin, does not warp and is easy to clean
- Ideal for making larger moulds – a great choice for epoxy resin tables


MDF or plywood mould – an alternative with release tape
If you don't have polypropyleneavailable, you can also make the mould from MDF boards or plywood, but it must be treated with a release layerso that the epoxy does not stick.
How to do it?
- Using polypropylene release tape – ensures easy demoulding of the epoxy resin table
- Apply the tape to the base and the side walls of the mould – stick it with an overlap of at least 3 mm between the individual strips
- Sealing the mould corners with silicone – prevents the resin from leaking
- Easy to apply to various types of moulds
- A fast and cheap method for single-use moulds
- Ensures a smooth surface on the epoxy casting
- Single use – the tape has to be renewed each time
- If it is not stuck down well, epoxy can seep underneath it


Key steps for making the mould
- Choose the right material – ideally polypropylene or MDF with a release layer
- Seal the mould joints properly – with silicone or adhesive so the epoxy doesn't leak through
- Use a quality release agent – if you use MDF, release tape is essential
- The mould surface must be perfectly smooth – so that the resulting epoxy casting is perfect
Everything you need for the mould
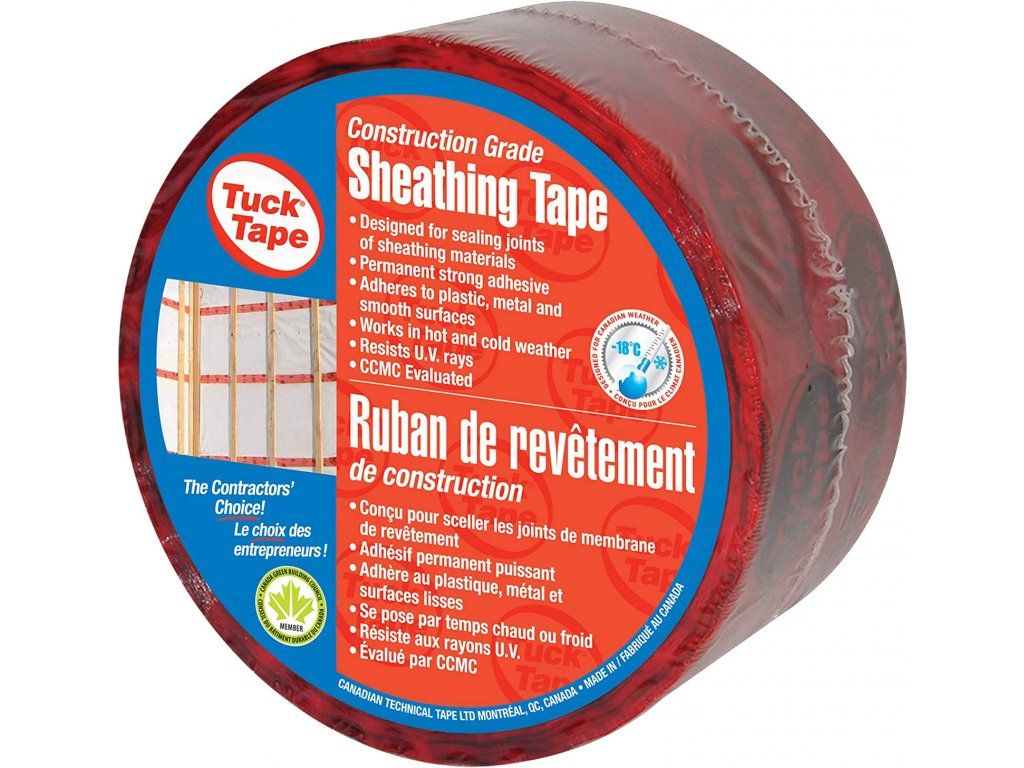 Tuck Tape Sheathing Tapesealing the joints and edges of the mouldMore info › Most popular
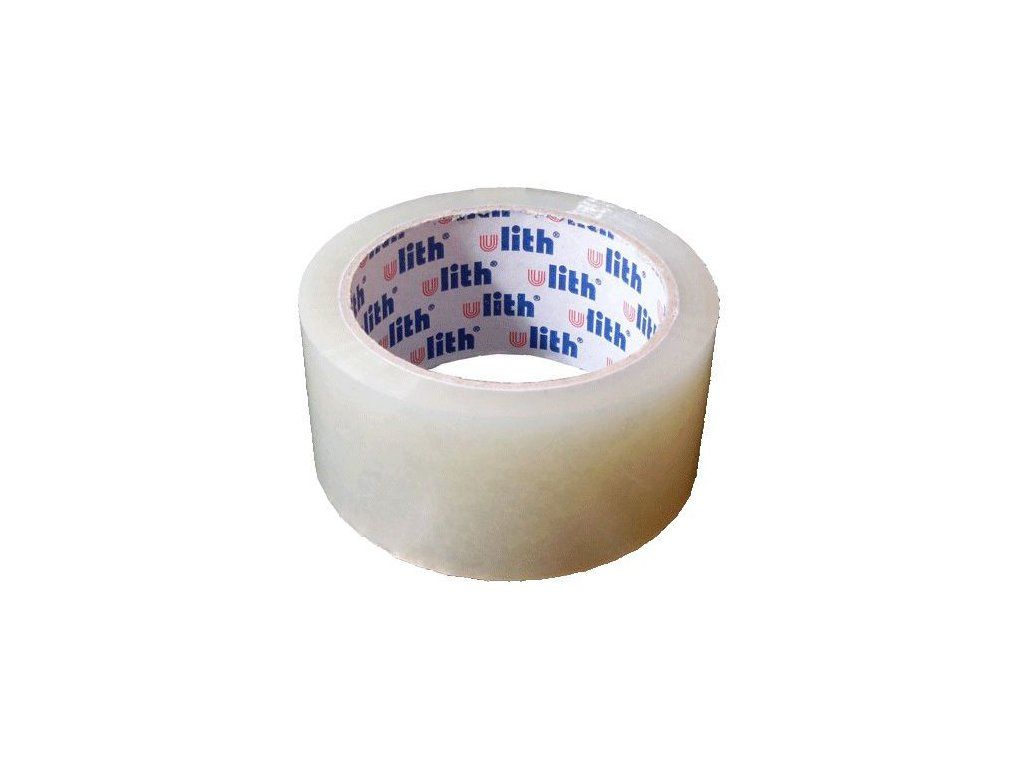 Polypropylene separation tapeeasy demoulding from MDF mouldsMore info ›
 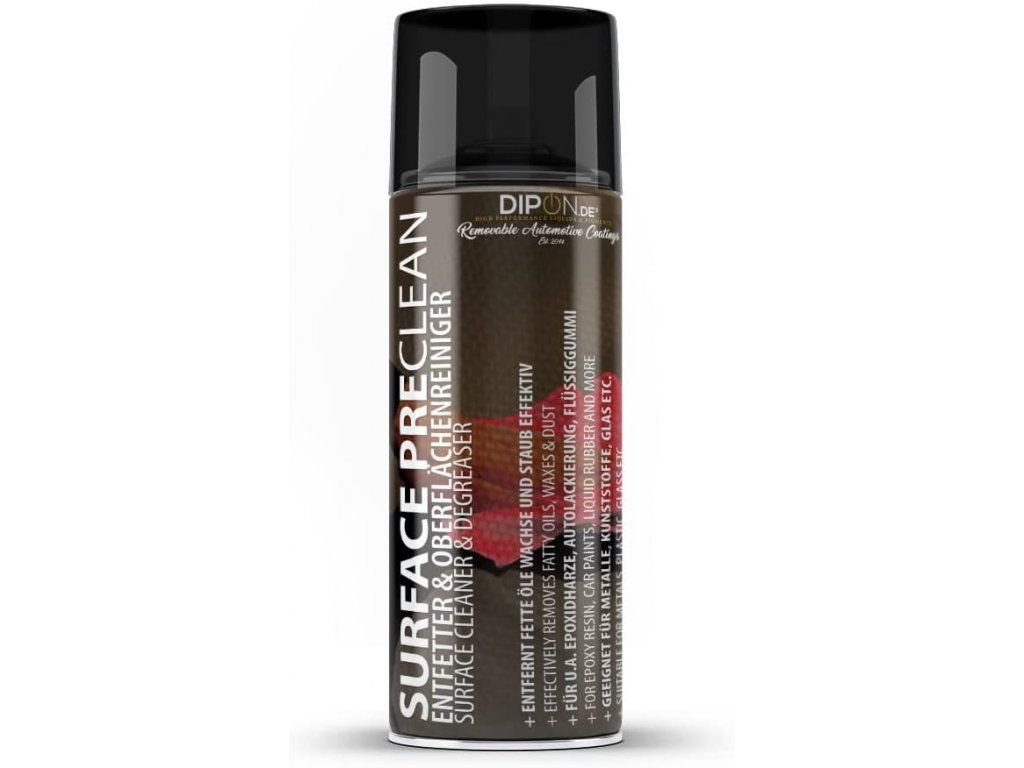 Surface pre-clean spraya clean surface before pouringMore info › Most popular
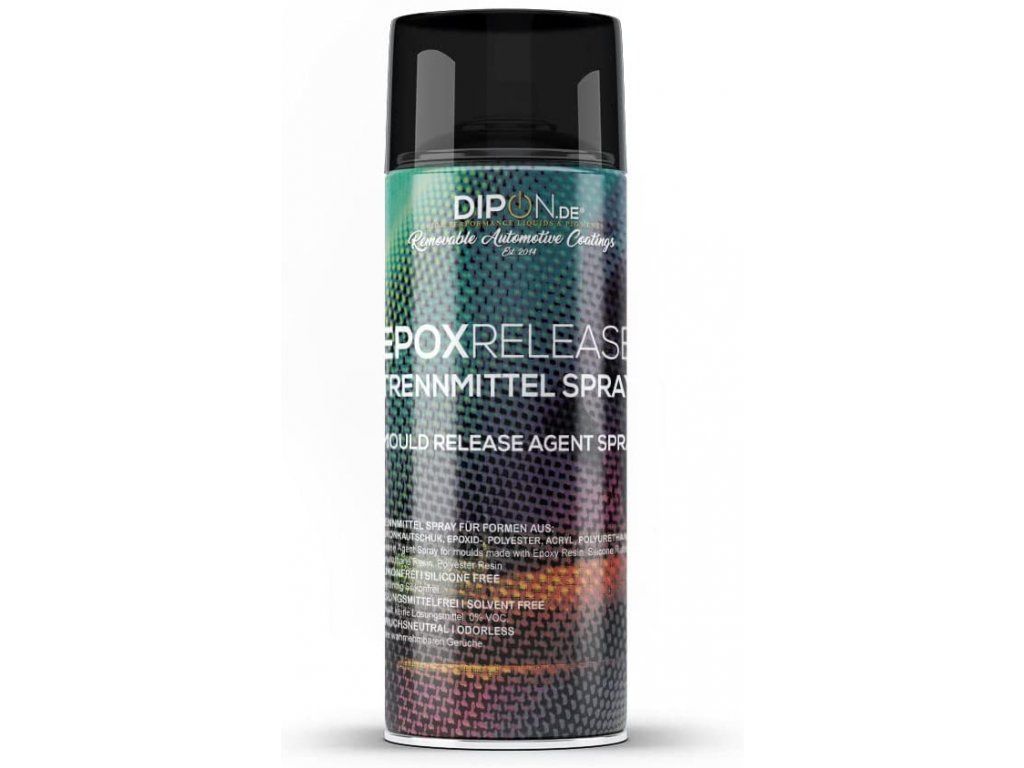 Natural release agent 400 mla non-stick layer for mouldsMore info ›
04Mixing and pouring the epoxy resin
When working with LuminaCast 9 Ocean Flow epoxy resin it is essential to follow the correct mixing, temperature conditions and pouring procedure, so that the final casting is perfect, free of bubbles and unevenness.
The ideal temperature for mixing and pouring epoxy resin
The ambient temperature at which the resin is mixed and pouredaffects the curing speed, the quality of the casting and the formation of unwanted bubbles.
- Recommended temperature for LuminaCast 9 Ocean Flow: 15–25 °C
- A stable temperature is important in the room throughout the entire curing process
- Avoid extreme temperatures – too low a temperature slows curing, while too high a temperature can cause an exothermic reaction, cracking and yellowing
Mixing components A and B correctly
- LuminaCast 9 Ocean Flow mixing ratio: 2:1 by weight
- Maximum deviation tolerance: ±1% (use an accurate scale)
- Use a clean plastic or silicone container – do not use glass or paper containers
Mixing procedure:
- Pour the measured amount of component A into the container
- Add component B in the correct ratio (2:1 by weight)
- Stir for at least 3–4 minutes (up to 5 minutes for larger volumes)
- Don't forget to thoroughly stir the corners and walls of the container too
- After the first mix, pour the mixture into a new container and stir again for 2–3 minutes
How to pour epoxy resin correctly?
How you pour the resin affects its final quality – follow the correct procedure to minimise bubbles and achieve a perfect result.
Important steps for pouring epoxy:
- Pour slowly and from a low height, to minimise air getting in
- Avoid pouring vigorously, which can cause bubbles to form
- Optimal pour layer for LuminaCast 9 Ocean Flow: up to 10 cm in a single pour
- For a thicker layer, work in stages – pour at intervals of 36–48 hours
How to eliminate air bubbles?
Bubbles can form during mixing or pouring the resin. Removing them is essential for a perfect-looking casting.
Layering the resin – how to achieve a perfect bond between layers?
If you need to cast epoxy resin in multiple layers, follow these rules:
- Pour the next layer at the right moment – when the previous layer is not fully cured but is no longer tacky to the touch
- If the layer has already fully cured, lightly roughen it with P100 sandpaper before the next pour – this improves adhesion between the layers
- Allow enough curing time between the individual layers (24–36 hours depending on conditions)
- Mind the temperature conditions – ideally 15–25 °C
- Keep the correct mixing ratio – 2:1 by weight
- Stir slowly and carefully, pour into a new container and stir again
- Pour slowly and gradually, to minimise bubbles
- Use a vacuum chamber, a heat gun or a special anti-bubble spray
- If you work with multiple layers, keep the correct time gap
Helpers for mixing and pouring
 Allway Tools Helix Paint Mixerperfect mixing of components A + BMore info › Most popular
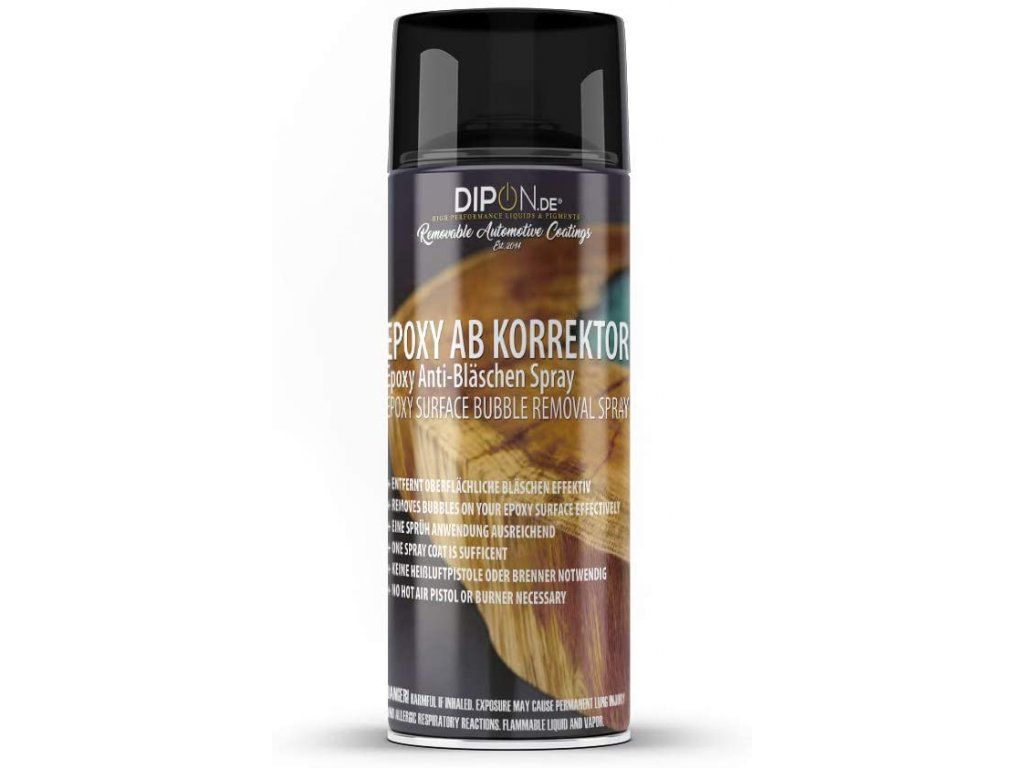 Anti-bubble sprayeliminates bubbles on the casting surfaceMore info ›
 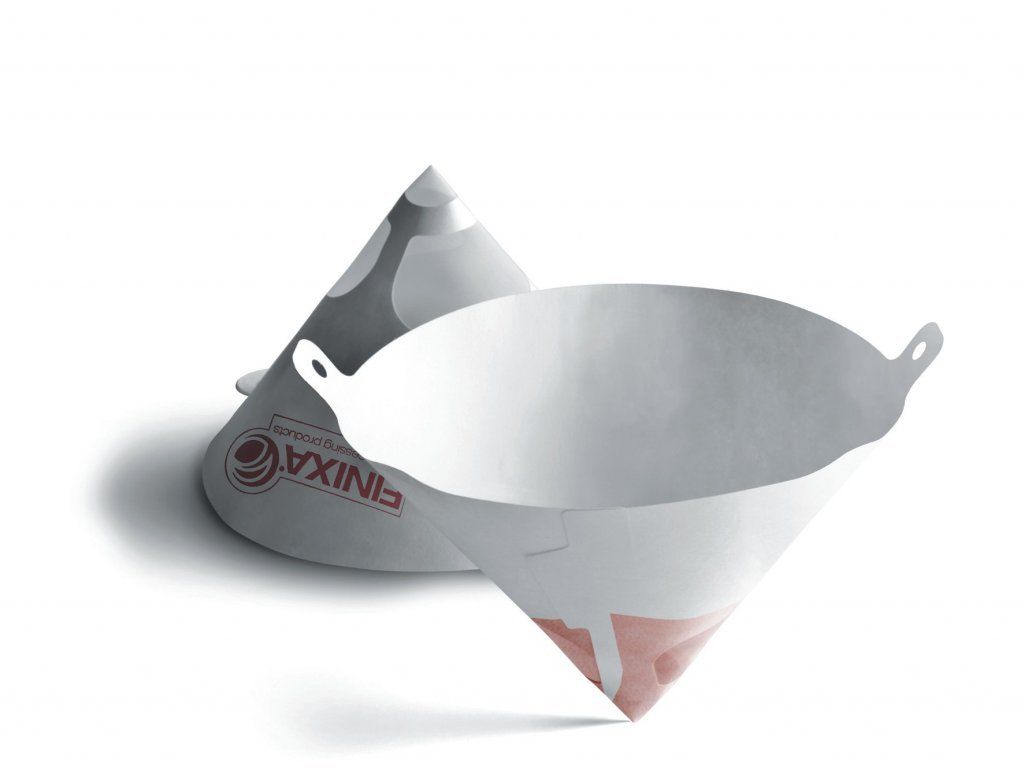 Nylon strainer to eliminate bubblescatches debris and micro-bubblesMore info ›
 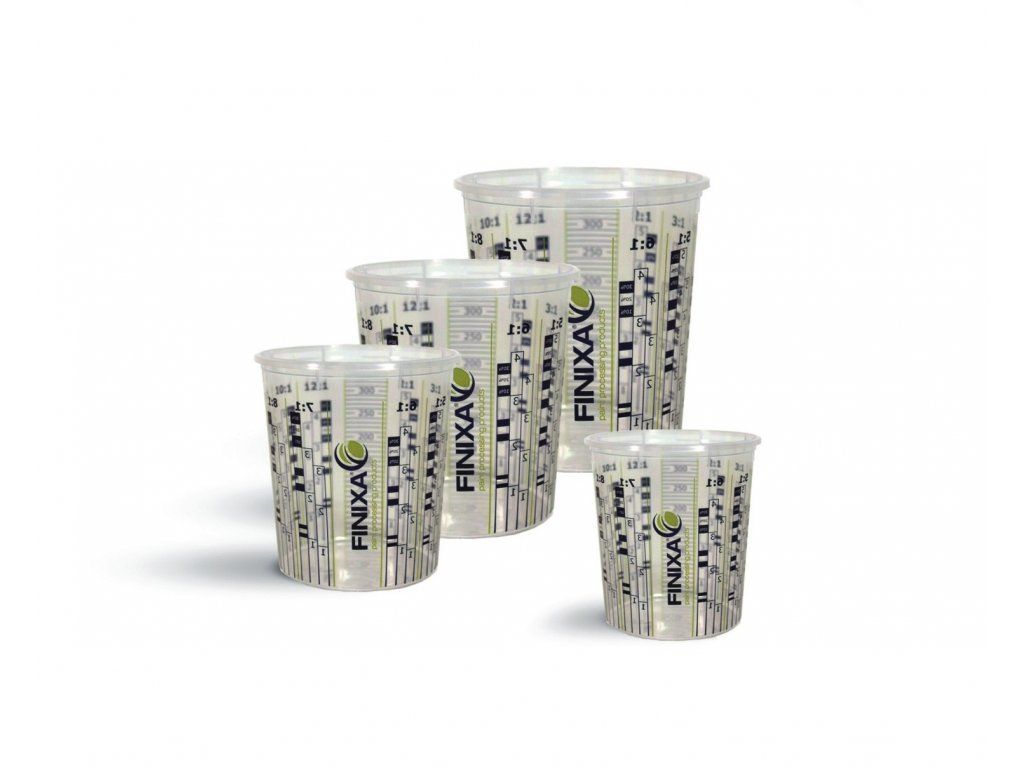 Transparent mixing cupprecise measuring with a printed scaleMore info ›
05Calculating the amount of epoxy resin
Work out the resin for your project
1 · How much resin do I need?
2 · Split into components A and B
The amount is pre-filled from the calculation based on the dimensions. Keep a reserve of 10–15% in case you need to top up with another layer.
Enter the dimensions above and we'll recommend the best-value pack combination.
Best price/kg LuminaCast 9 Ocean Flow — 30 kg full production The largest pack with the best price per kilogram. View package ›06Colouring epoxy resin: how to achieve perfect colouring?
Epoxy resin is a great choice for creative projects because it allows easy colouring and pigmentation. Thanks to the wide range of available pigment solutions, powders and pastes you can achieve transparent, metallic and opaque effects. In this article we'll show you how to choose the right pigments for your project and how to dose them correctly for the best possible result.
Which types of pigment can be used for epoxy resin?
There are several types of pigment for colouring epoxy resin, each with its own specific properties and uses:
 Pigment solutionstransparent, see-through effects, depth, custom shades1–3% by weight
  Pigment pastesrich, opaque colours, high concentration0.5–5% by weight
 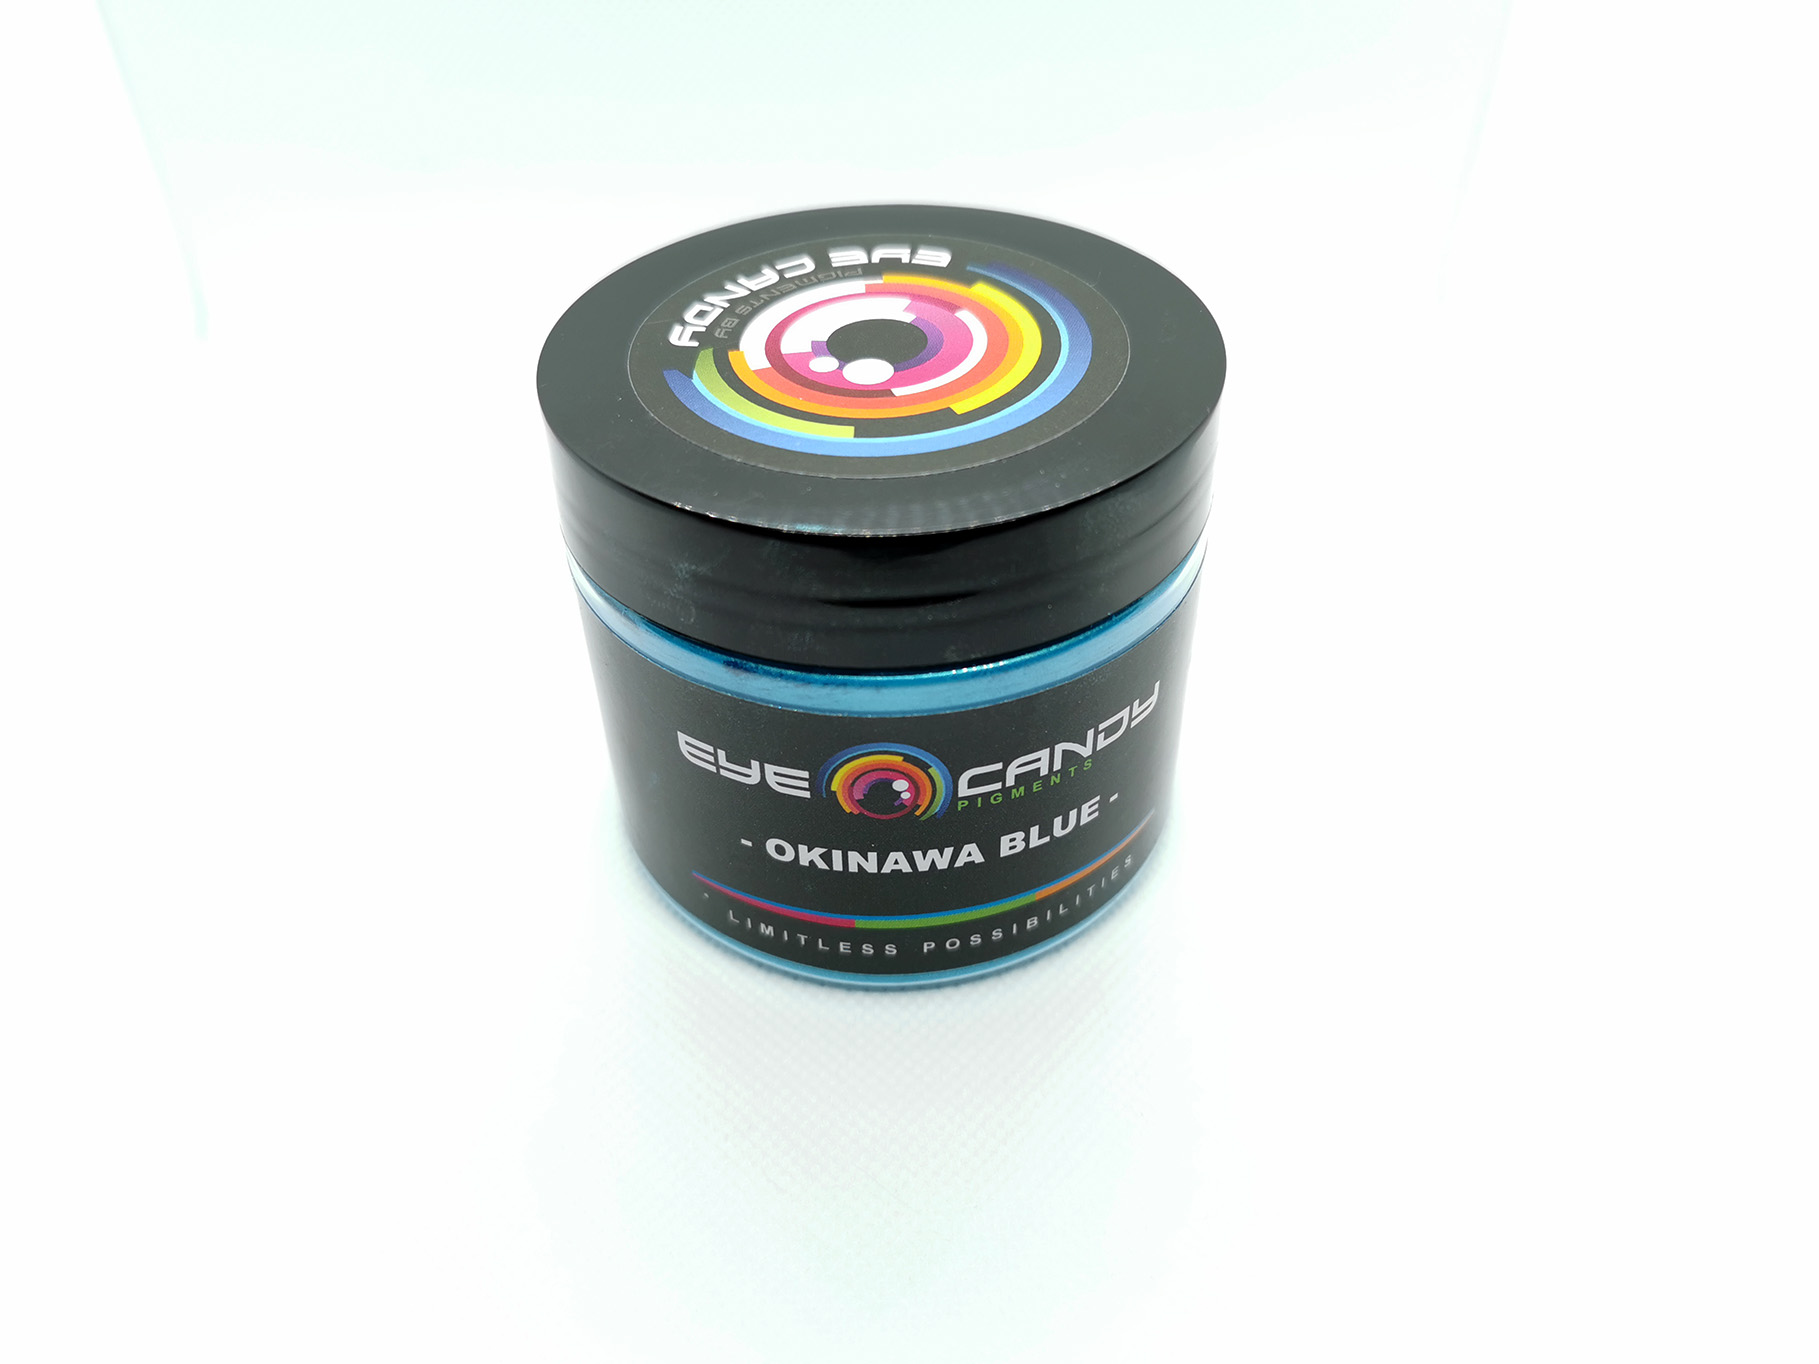 Metallic pigmentspearlescent and shimmering effect, luxurious depth0.5–1 g per 1 kg/l
  Alcohol inkssoft colour transitions, marble, geode effectwith a dropper onto the surface
When choosing a pigment, it depends on the effect you want – do you want a transparent or opaque look? Should the colour be soft, rich or shimmering?
Pigment solutions: why and how to use them?
What are pigment solutions?
Pigment solutions are liquid colours that mix easily with epoxy resin and create transparent and semi-transparent effects. They are ideal for:
- Casting into moulds and table tops
- Creating a depth effect in the resin
- Mixing your own colour shades
How to dose pigment solutions correctly?
- Start with a small amount and add gradually until you reach the desired shade
- Dosing is usually 1–3% of the resin weight
- Mix well so the colour is even
Metallic pigments: how to create unique effects?
What are metallic pigments and why use them?
Metallic pigments are finely ground powders with a pearlescent effect that give epoxy resin a luxurious look and depth. They are great for making tables, artistic decorations, jewellery and designer castings.
It is important to choose pigments with a suitable particle sizethat ensures even dispersion of the colour in the resin. For a perfect result we recommend quality pigments popular with professionals and hobbyists alike.
Dosing metallic pigments
- Transparent effect → 0.5 g of pigment per 1 kg/l of resin
- Rich colour → 1 g of pigment per 1 kg/l of resin
- Intense metallic effect → add pigment gradually as needed
There is no universal recipe – we recommend starting with a smaller amount and gradually adding pigment until you achieve the look you want.
Popular metallic pigments
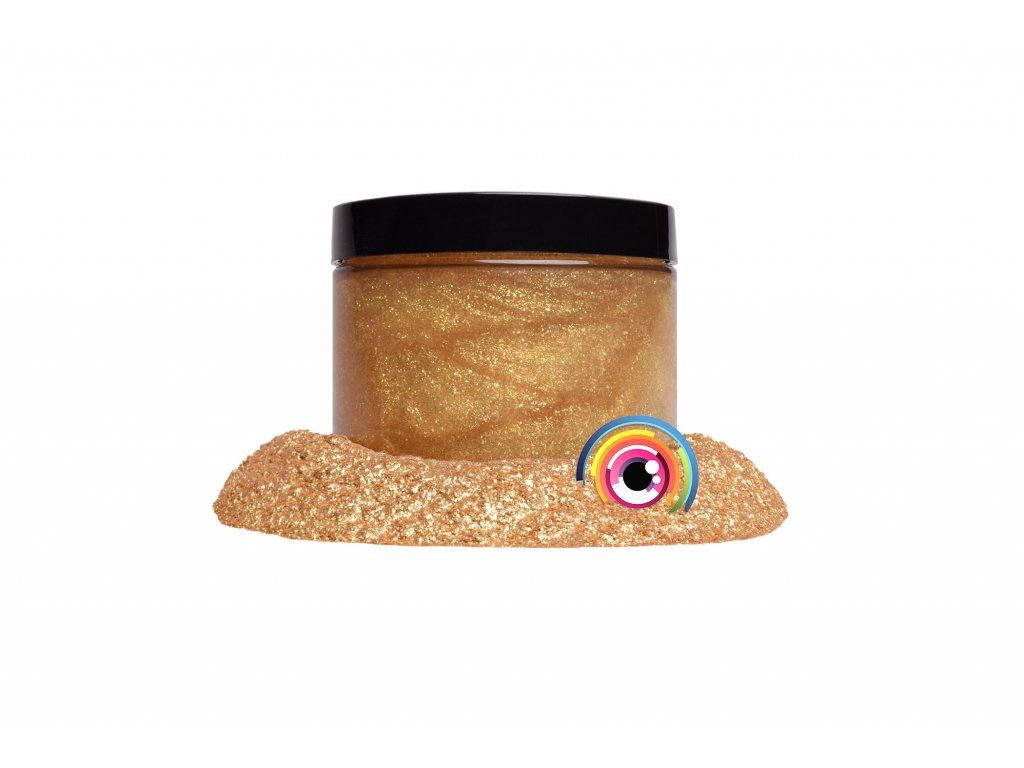 14k NUGGET GOLDa golden metallic effectMore info ›
 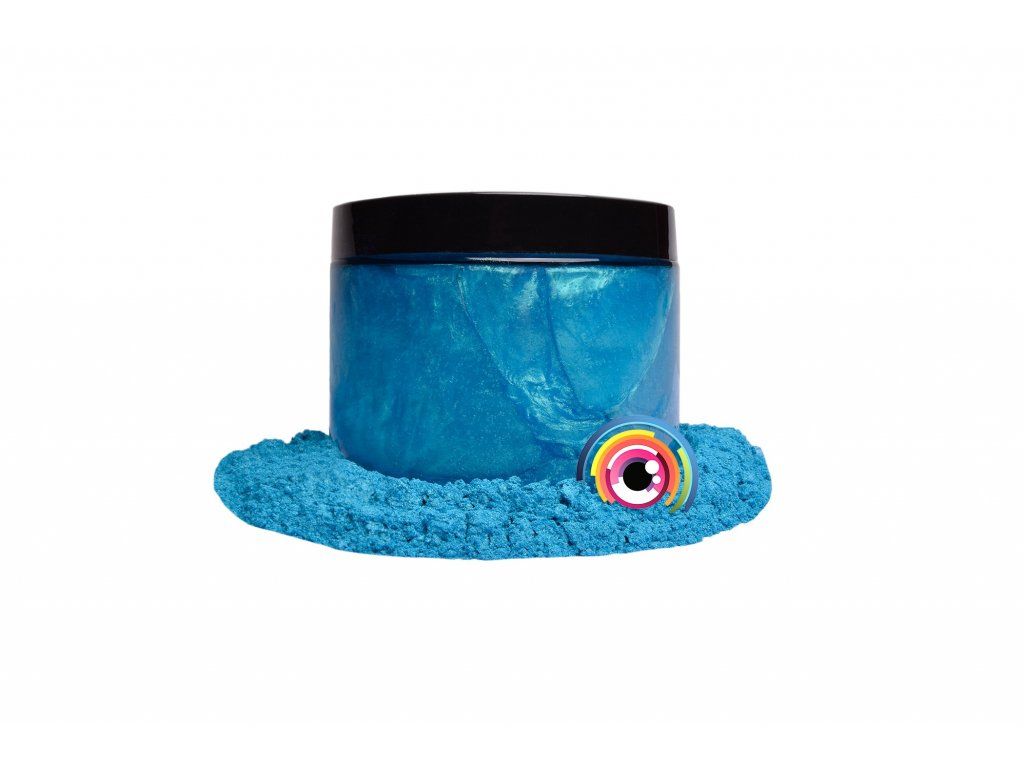 Okinawa Blueocean blue for river tablesMore info ›
 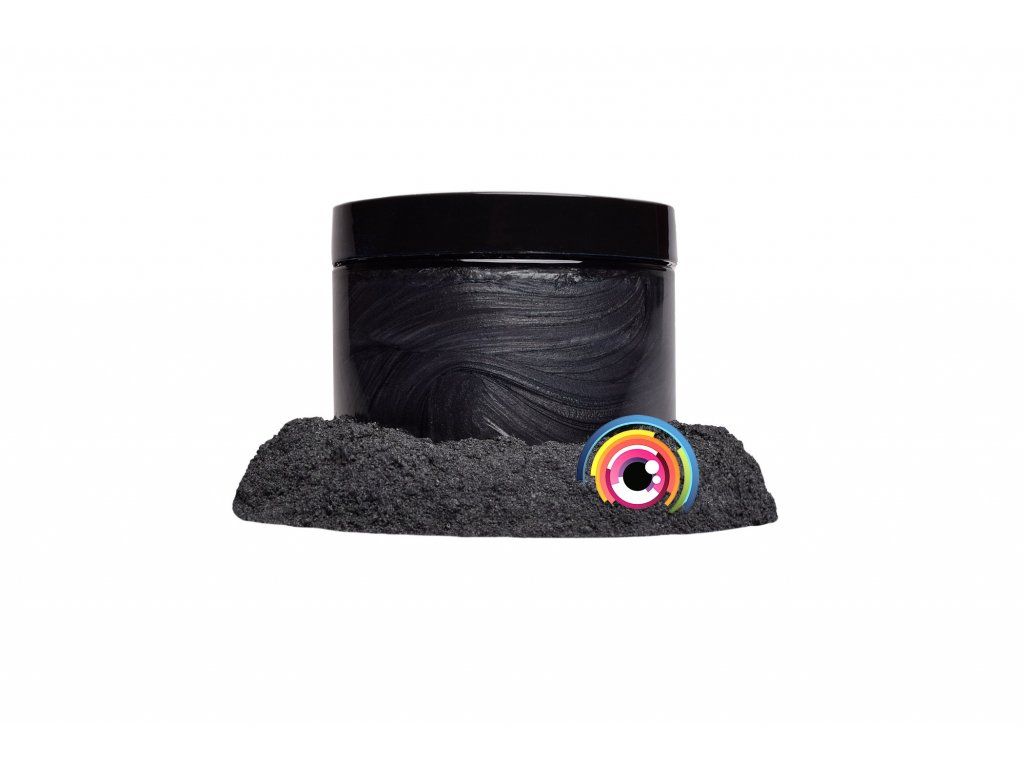 Samurai Blackdeep black with pearlMore info ›
 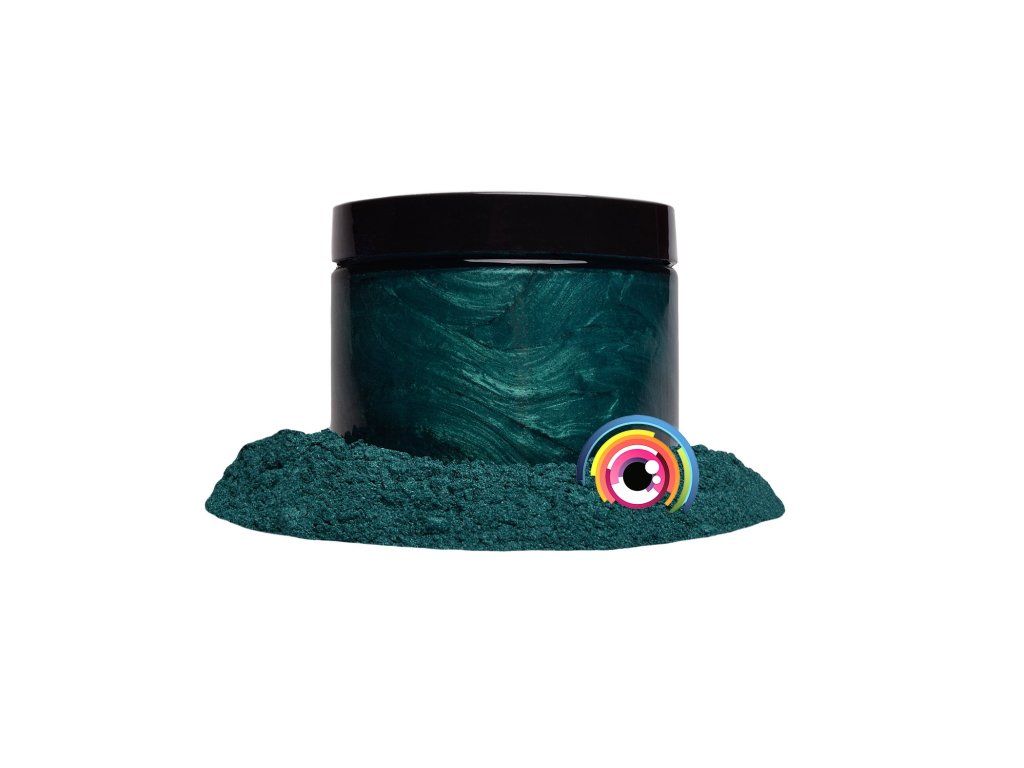 Dark Ocean Greenemerald depthsMore info ›
 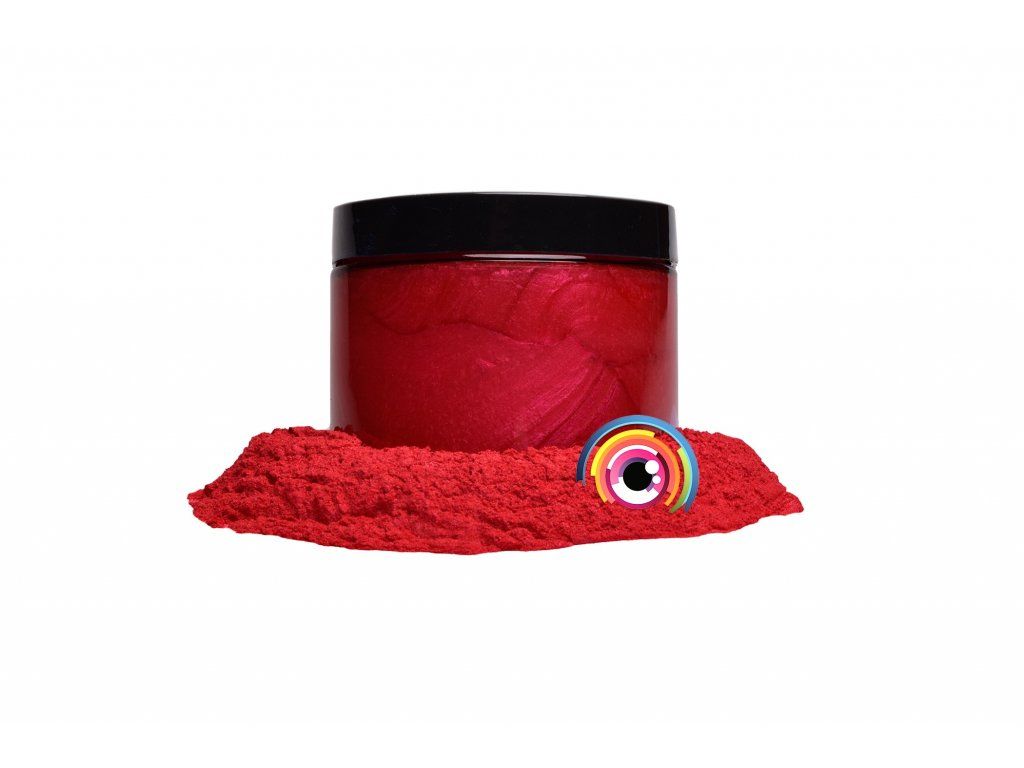 Baku Reda rich red accentMore info ›
 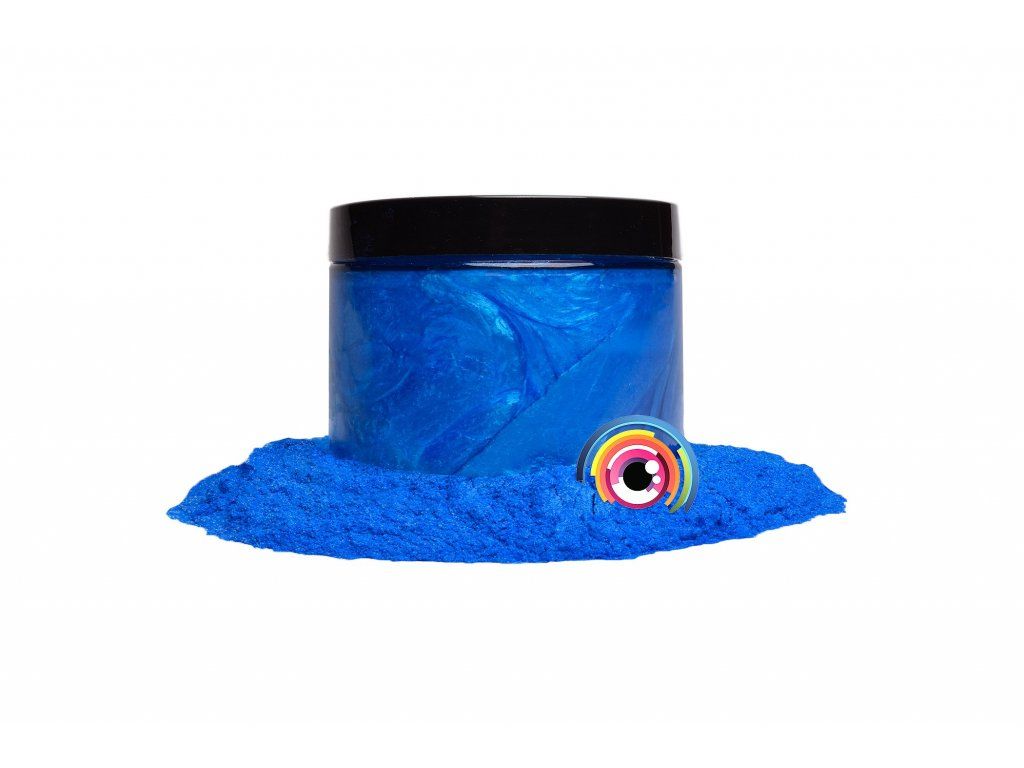 Dark Ocean Bluedark ocean blueMore info ›
Pigment pastes: how to achieve intense colour?
Why use pigment pastes?
Pigment pastes are specially developed for opaque, rich colouring of epoxy resin. Their advantage is their high concentration, so only a small amount is needed to achieve the desired intensity.
Advantages of pigment pastes:
- They create rich, fully opaque colours
- They can be combined to create custom shades
- They are easy to dose and disperse evenly in the resin
How to dose pigment paste correctly?
- Mix the paste well before use – pigments can settle at the bottom of the container
- Add it after mixing components A + B of the epoxy resin
- Dosing: 0.5–5% by weight depending on the desired colour intensity
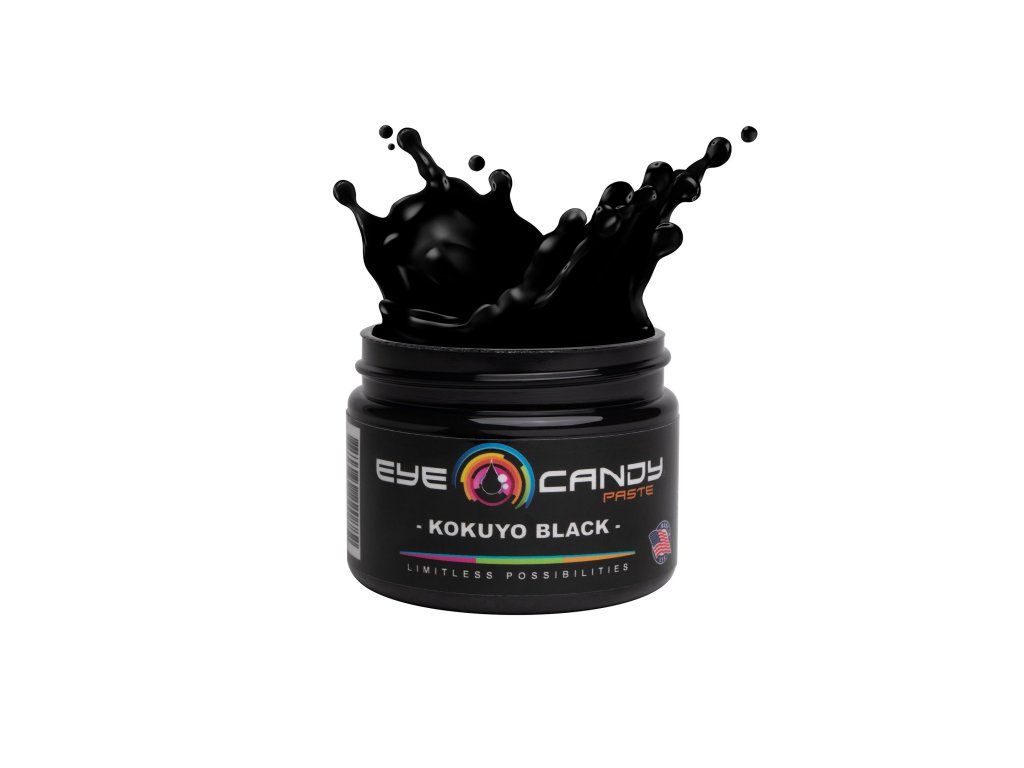 Kokuyo Black Paste 59 mlrich opaque blackMore info ›
 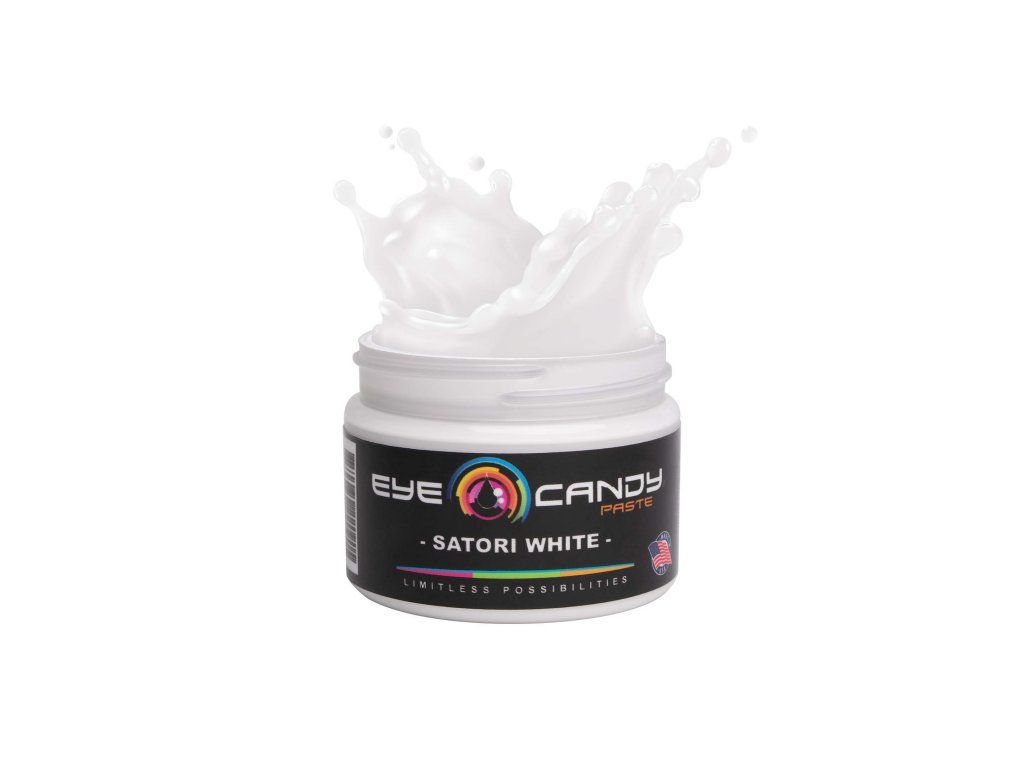 Satori White Paste 89 mlbright white pasteMore info ›
 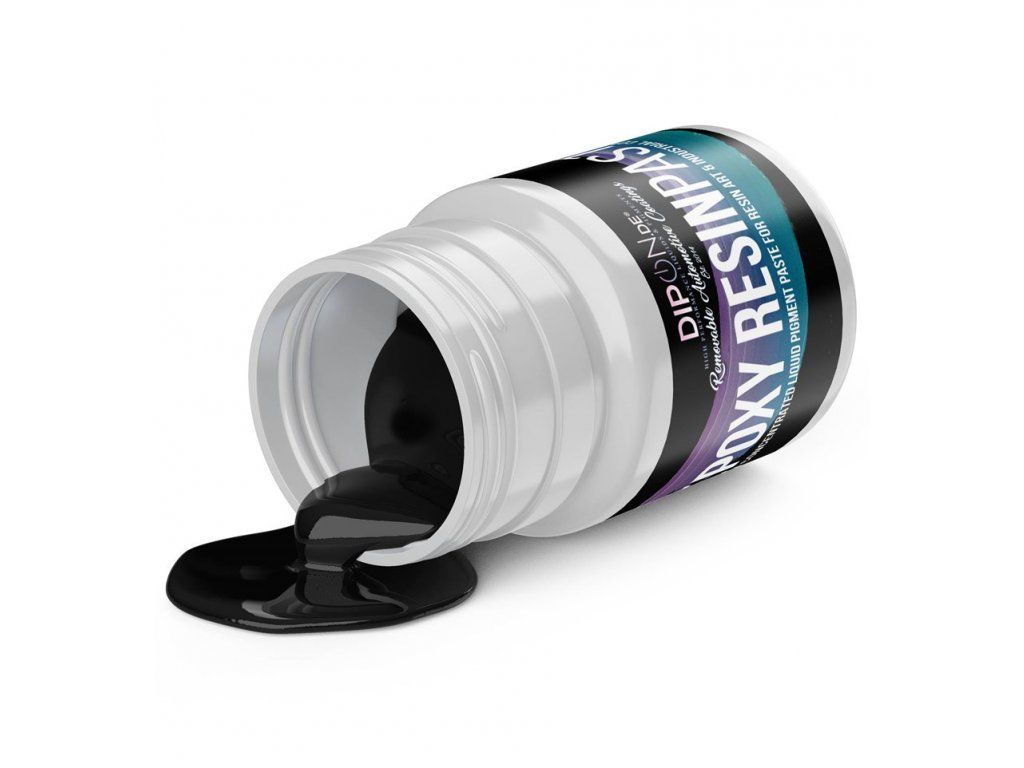 Black (RAL 9005) pigment pastethe RAL standard for an exact shadeMore info ›
 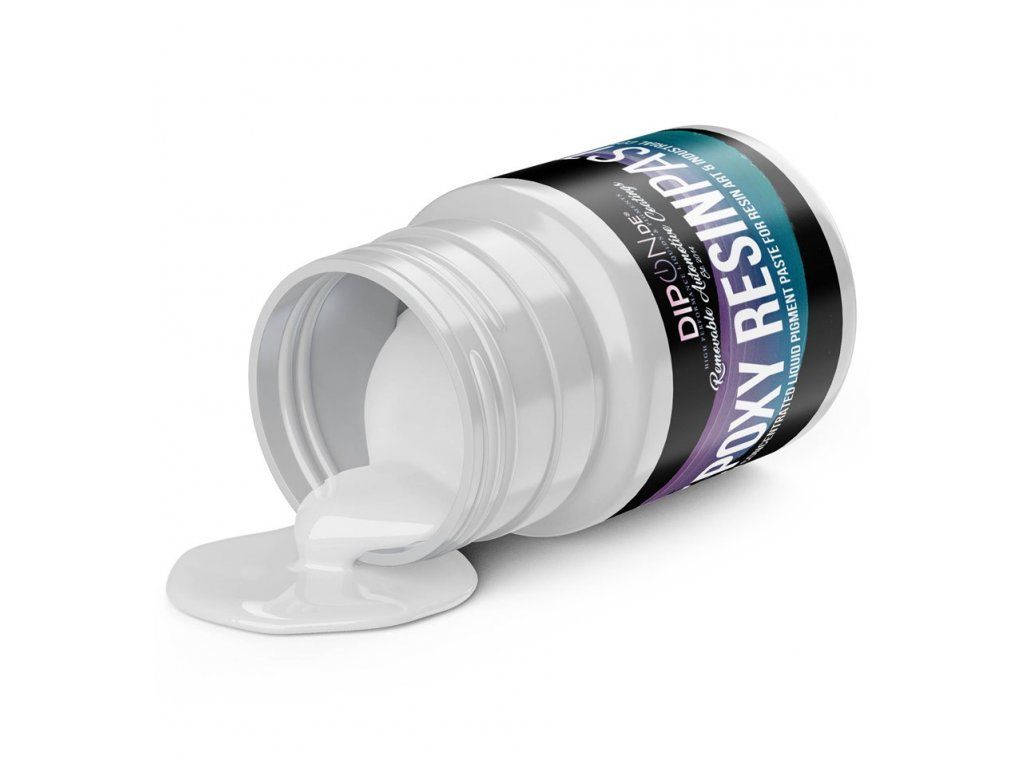 Signal white (RAL 9003)pure white to RALMore info ›
Alcohol inks: striking colour transitions and abstract patterns
How do alcohol inks work?
Alcohol inks are concentrated, alcohol-soluble coloursthat create:
- Soft colour transitions and marble effects
- Interesting abstract patterns on the resin surface
- A „water surface“ effect or a geode effect
How to apply alcohol inks?
- Apply the ink directly onto the resin surface with a dropper
- You can blow it out with a heat gun or a brush for interesting effects
- Combine several colours for dramatic contrasts
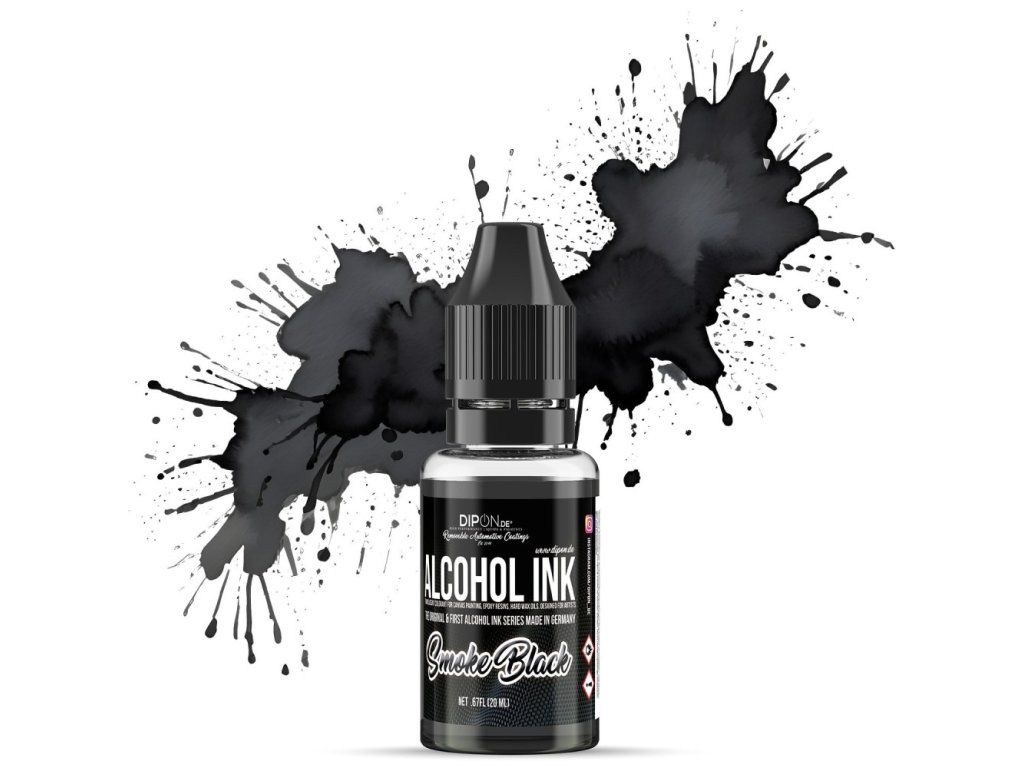 Smoke Blacksmoky transitionsMore info ›
 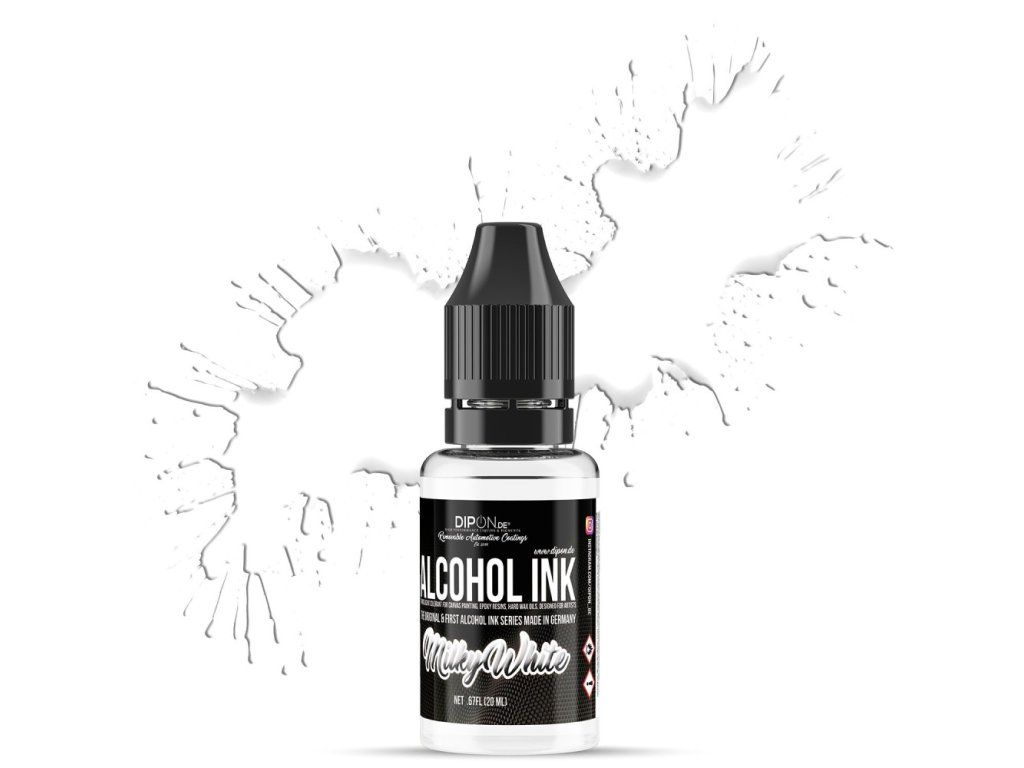 Milky Whitemilky waves and a lagoon effectMore info ›
 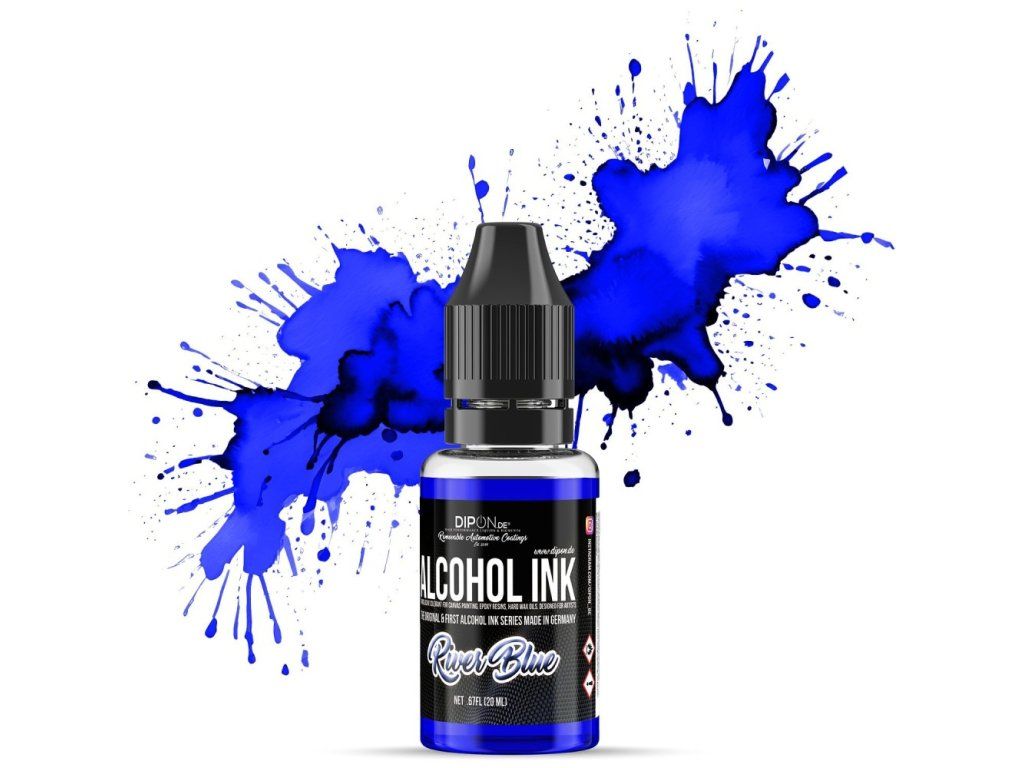 River Bluethe river in a river tableMore info ›
 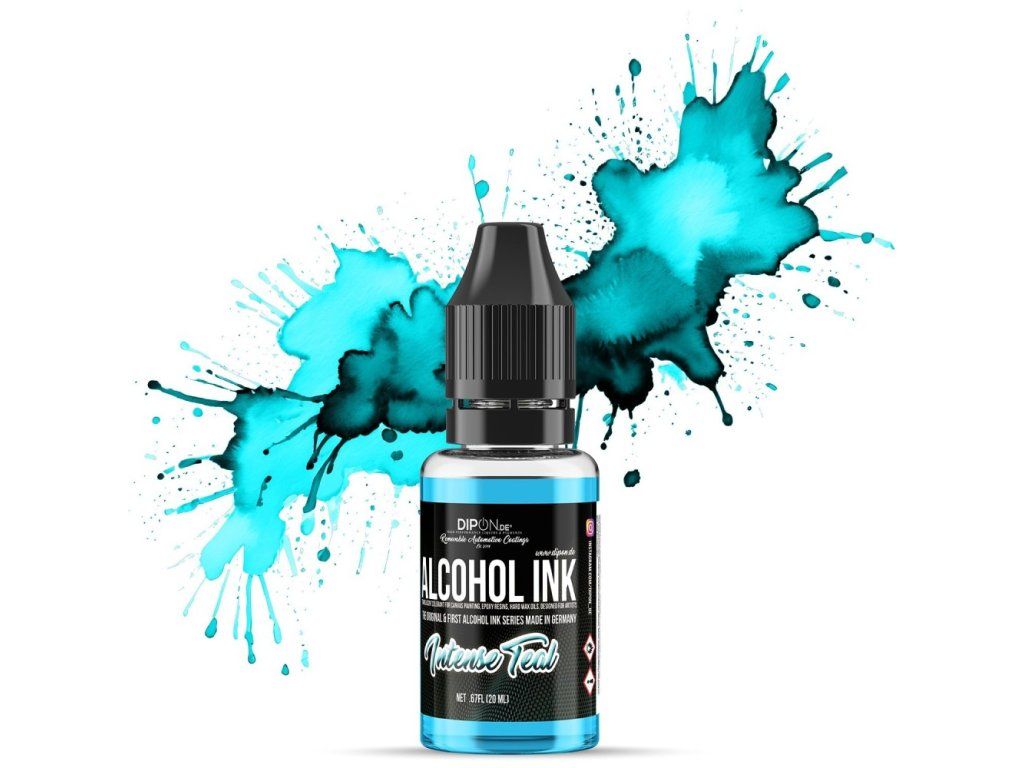 Intense Tealturquoise depthsMore info ›
 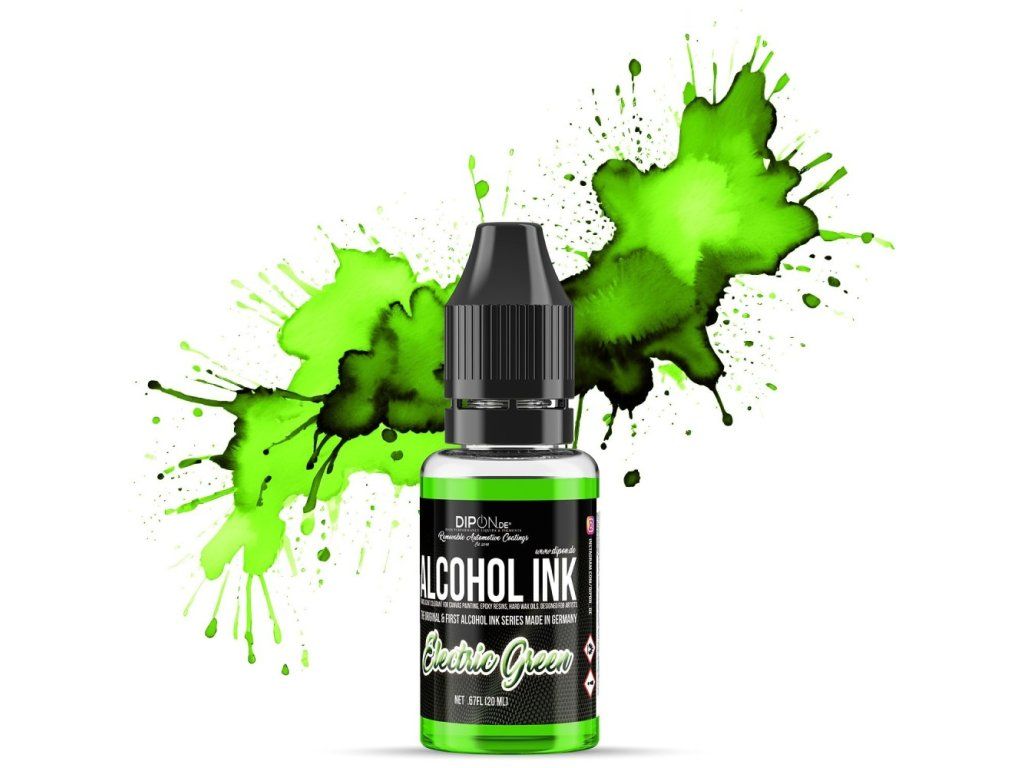 Electric Greena vivid green accentMore info ›
- Choose a suitable type of pigment – solutions for transparent effects, pastes for opaque colours, metallic pigments for a luxurious look, alcohol inks for special effects
- Follow the recommended dosing – start with a smaller amount and add gradually
- Mix thoroughly – this prevents the pigment from settling and ensures even dispersion of the colour
- Use quality pigments compatible with epoxy
07Demoulding and milling: how to achieve a perfect surface?
Making an epoxy resin table doesn't end with pouring the resin. Correct demoulding and precise surface milling are key steps for achieving a professional result. These processes ensure that your epoxy resin table will be perfectly flat, smooth and aesthetically attractive.
When and how to correctly remove the epoxy resin table from the mould?
How long to let the epoxy cure before demoulding?
For safe demoulding of the epoxy resin table it is essential to observe the correct curing time. The curing time of epoxy resin depends on the thickness of the casting, the epoxy system used and the ambient temperature.
- Minimum curing time before demoulding: 5–7 days
- Recommended curing time for milling and sanding: 10–14 days
How to correctly remove the epoxy resin table from the mould?
When removing the epoxy casting, it is important to proceed carefully, so as not to damage the mould or the table itself.
- Use a plastic spatula or wooden wedgesto gently separate the casting from the mould
- Avoid sharp metal tools that could damage the edges of the table
- If the mould is stuck, it can be gently warmed with a heat gunto release the epoxy more easily
- When using a polypropylene mould or release tape removing the epoxy resin table will be much easier
Milling the epoxy resin table: how to achieve a smooth, flat surface?
After demoulding the table, the surface is often slightly uneven due to the natural shrinkage of the epoxy resin during curing. Milling helps level the transitions between the wood and the epoxy and ensures a perfectly flat top.
When is milling necessary?
- Levelling the surface after casting – some areas may be uneven
- Removing excess resin – especially at the edges or the transitions between wood and epoxy
- Preparation for the final sanding and polishing
How to mill the epoxy resin table correctly?
For milling the epoxy resin table there are several methods that differ in difficulty and tool availability:
- Hand milling with a router: affordable, suitable for DIYers
- Requires precision and a solid guide frame
- Milling on a CNC machine: high precision, ideal for professional production
- Higher acquisition cost
- A surfacing sander or thickness planer: fast levelling of large surfaces
- Requires access to workshop machines
How to mill an epoxy resin table at home
- Use a router with a guide framethat ensures the router moves evenly across the entire top
- Fasten the table firmly to the work surfaceso it doesn't move during milling
- Use a wide milling bit (30–50 mm) for efficient surfacing
- Mill gradually in thin passes and don't remove too much material at once
- Keep the router moving smoothly, to prevent grooves and unevenness
What to do after milling?
After successful milling, the surface of the top is level, but it needs further work to make it perfectly smooth and ready for the final finishing.
How to finish the surface after milling?
- Sanding smooth – gradually use sandpapers with grits P80 → P120 → P240 → P400
- Final polishing – if you want a mirror shine, use special epoxy polishing compounds
- Applying a protective layer – you can use oil, wax or varnish to enhance the colours and structure of the material
- Demoulding: wait at least 5–7 days, ideally 10–14 days, until the epoxy is fully cured
- Use plastic or wooden toolsto avoid damaging the edges of the table
- Mill with a router, a CNC machine or a thickness sander
- Remove material gradually, to prevent grooves and cracks
- After milling, sand the surface and polish it if neededso it is perfectly smooth
08Repairing the table top after milling: how to achieve a perfect surface?
After milling the epoxy resin table small defects may appear that need to be repaired before the final sanding and polishing. Air bubbles, cracks in the wood or unevenness in the epoxy can affect not only the appearance but also the functionality of the table top. That is why it is important to choose the right repair method for a perfect result.
The most common defects after milling an epoxy resin table
When working an epoxy resin table top, various flaws can appear that need to be repaired.
- Air bubbles in the epoxy – small bubbles that open up during milling
- Small cracks and splits in the wood – natural material defects that need to be filled
- Minor scratches and surface damage – caused by milling or handling the table top
How to repair defects in epoxy resin?
If small bubbles or unevenness in the epoxyappear after milling, repairing them is fairly simple.
Recommended products for repairing epoxy defects:
LuminaCast 1 Fast Set Primer – a fast epoxy resin for repairing smaller defects and sealing wood. Thanks to its low viscosity, it penetrates deep into the structure of the material and seals the surface perfectly. Working time 60–120 minutes, after which you can continue with further work.
LuminaCast 1 Fast Set Primerdefect repairs and sealing in one›
STARBOND 5-Minute Epoxy Kit – a very fast, UV-resistant epoxy resin that is ideal for repairing small defects in both epoxy and wood. A curing time of just 5 minutes allows extremely fast work.
STARBOND 5-Minute Epoxy Kita repair cured in 5 minutes›
How to repair epoxy defects:
- Enlarging the holes before filling – if the bubbles are too small, they can be gently widened with a round chiselso the epoxy penetrates well
- Using a fast epoxy resin – for repairing smaller defects we recommend a fast epoxy resinthat ensures quick filling and curing
- Pigmenting the repair resin – to keep the natural look of the table, you can pigment the epoxyso it matches the surrounding material
- Topping up and checking – after the repair resin cures, check the surface and lightly sand it if needed
LuminaCast 1 Fast Set Primerdefect repairs + sealingMore info › 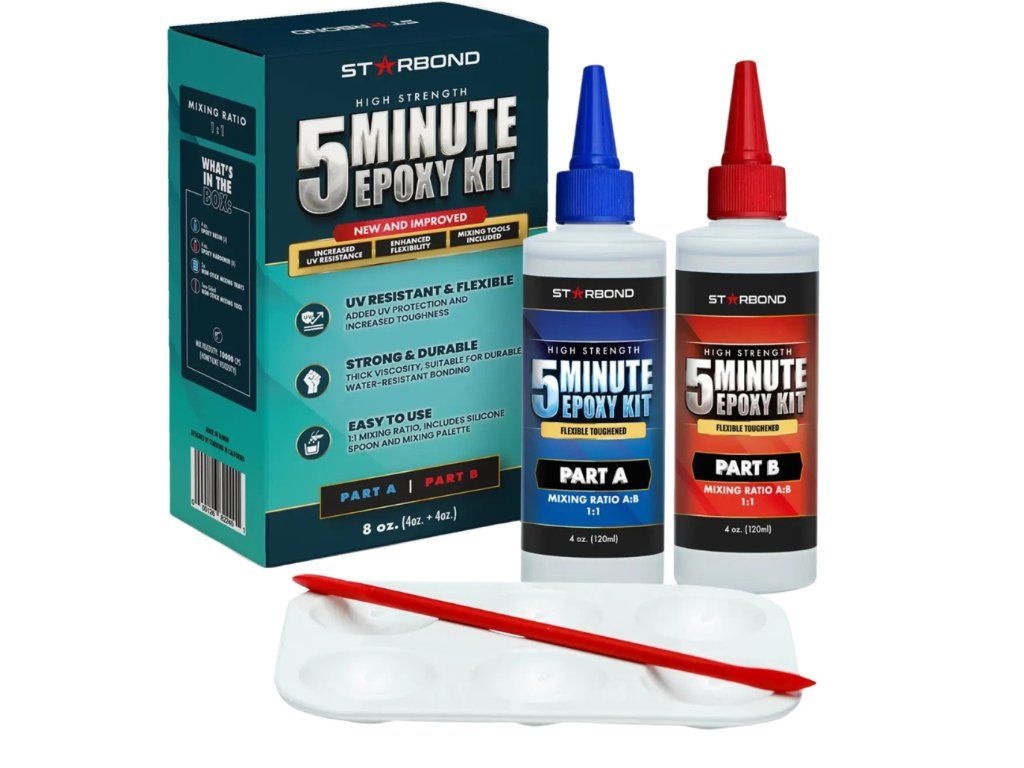 STARBOND 5-Minute Epoxy Kita repair cured in 5 minutesMore info ›
 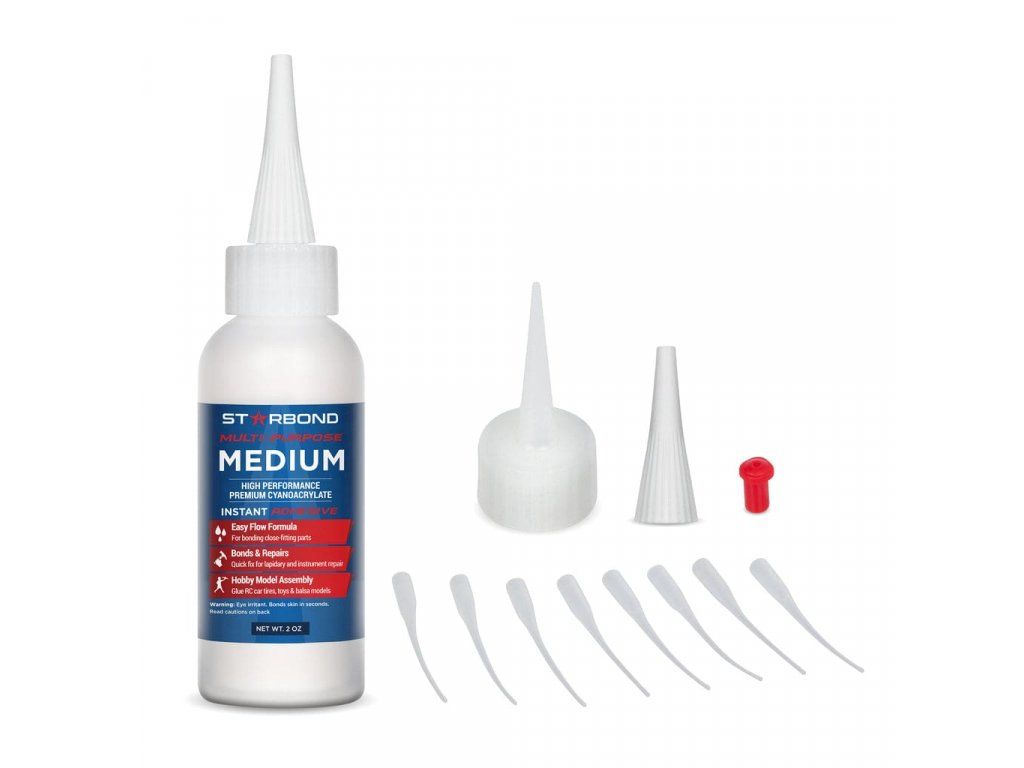 STARBOND Medium „Multi-Purpose“a universal density for repairsMore info ›
 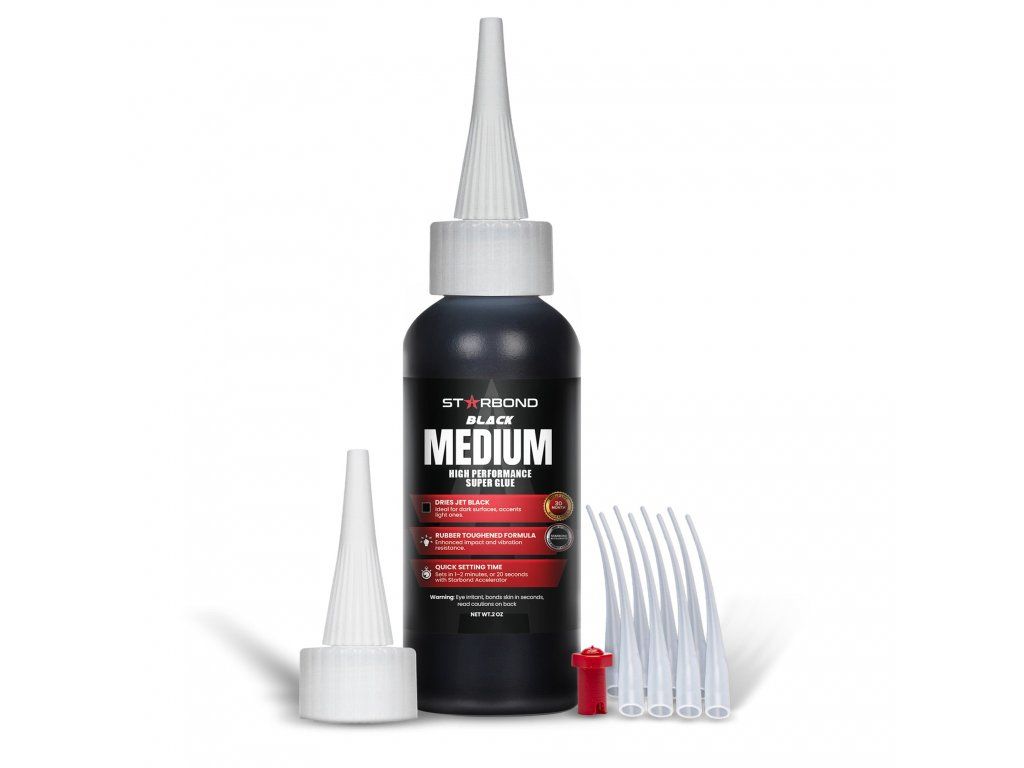 STARBOND Black Medium KE-150black fills for joints and knotsMore info ›
 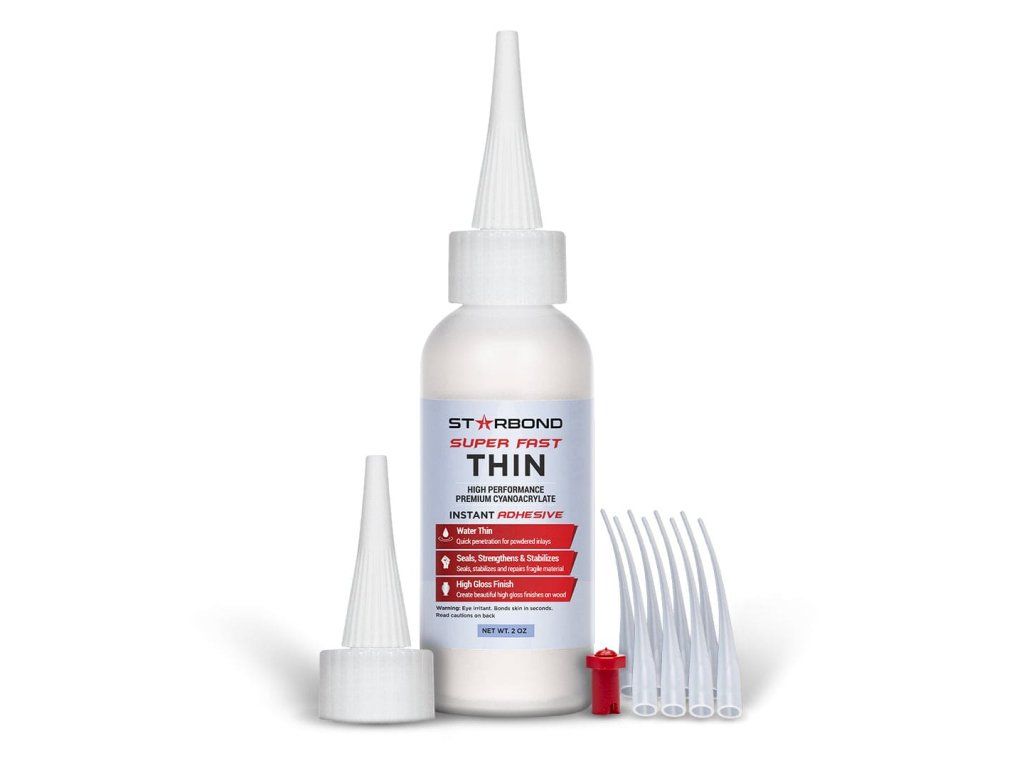 STARBOND Super Fast Thin EM-02flows into the finest cracksMore info ›
Repairing wood defects with STARBOND super glues
Wood is a natural material and may contain knots, cracks or small cavitiesthat need to be repaired before the final finishing. In these cases, STARBOND super glues are the ideal choice because they allow fast and effective repairs without long waiting for curing.
Advantages of STARBOND super glues for wood repairs:
- Instant curing – combined with an accelerator, it sets within a few seconds
- Versatile use – ideal for bonding, repairs and filling cracks
- High bond strength – resistant to water, moisture and mechanical stress
- Available in various densities and colour options
Choose the glue for your repair — colour and density
STARBOND offers super glues in various colours and densities. Choose a colour and density – you'll immediately see the specific glue with a description of what it's suited for. The number in the name ≈ viscosity in cP (the higher the value, the thicker it is).

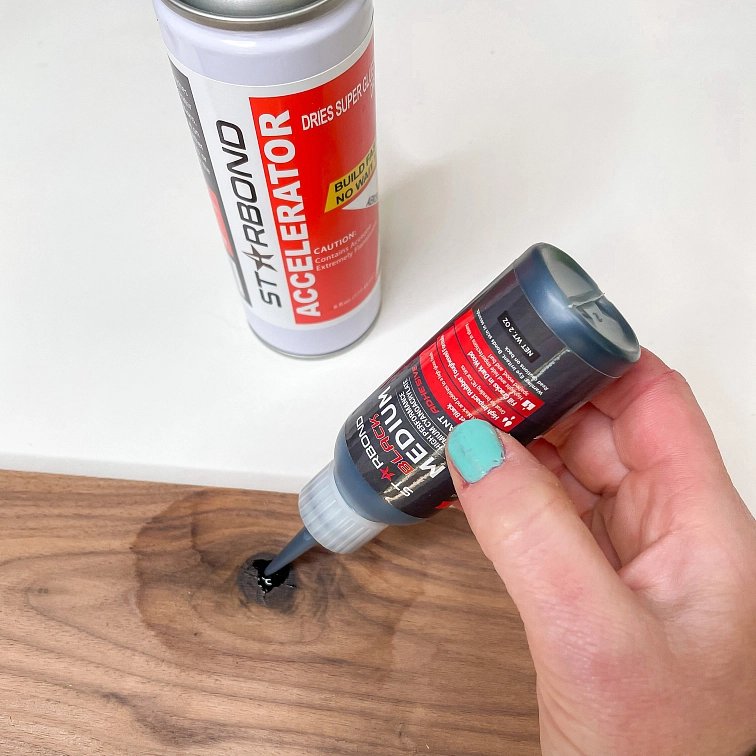


Repairing wood defects with STARBOND Black Medium KE-150 super glue
- Identify the defects – air bubbles, cracks in the wood or surface unevenness
- Use the right repair material – LuminaCast 1 Fast Set Primer, STARBOND 5-Minute Epoxy Kit or STARBOND super glues
- Let the repaired surface cure and then lightly sand it
09Sanding the epoxy resin table: how to achieve a perfectly smooth surface?
Sanding the epoxy resin is a key step for achieving a smooth, glossy, professional look. The right technique and choice of abrasive significantly affect the quality of the final surface and its long-term durability. This complete guide to sanding epoxy resin will help you understand how to sand an epoxy resin table correctly, step by step and which products to use for the best result.
How to sand an epoxy resin table correctly?
Sanding epoxy resin consists of several stages – from coarse levelling of the surface to fine polishing that ensures a perfect shine. Each step is important for achieving an optimal result.
What affects the choice of the right abrasive?
- The type of surface finish – do you want a matte, satin or glossy surface?
- The table material – a combination of wood and epoxy requires a different approach than all-epoxy tops
- The protective coating used – if you plan to apply oil or wax, it is important to sand the wood to a lower grit
Choosing the right tool and abrasive for the epoxy resin table
- The best sander for epoxy resin – a random-orbital sander with an oscillating motion allows smooth, even sanding
- Professional abrasives – Japanese sanding discs KOVAX for maximum efficiency and dust removal while you work
- Suitable interface pads – using a micro hook-and-loop pad ensures smoother transitions between grits
Recommended sanding systems:
| Stage | Grit | KOVAX abrasive |
|---|---|---|
| Coarse sanding | K80–K400 | Tri-Pro or Super Assilex |
| Fine sanding | K600–K1500 | Super Assilex |
| Finishing sanding | K2000–K3000 | Buflex Dry |
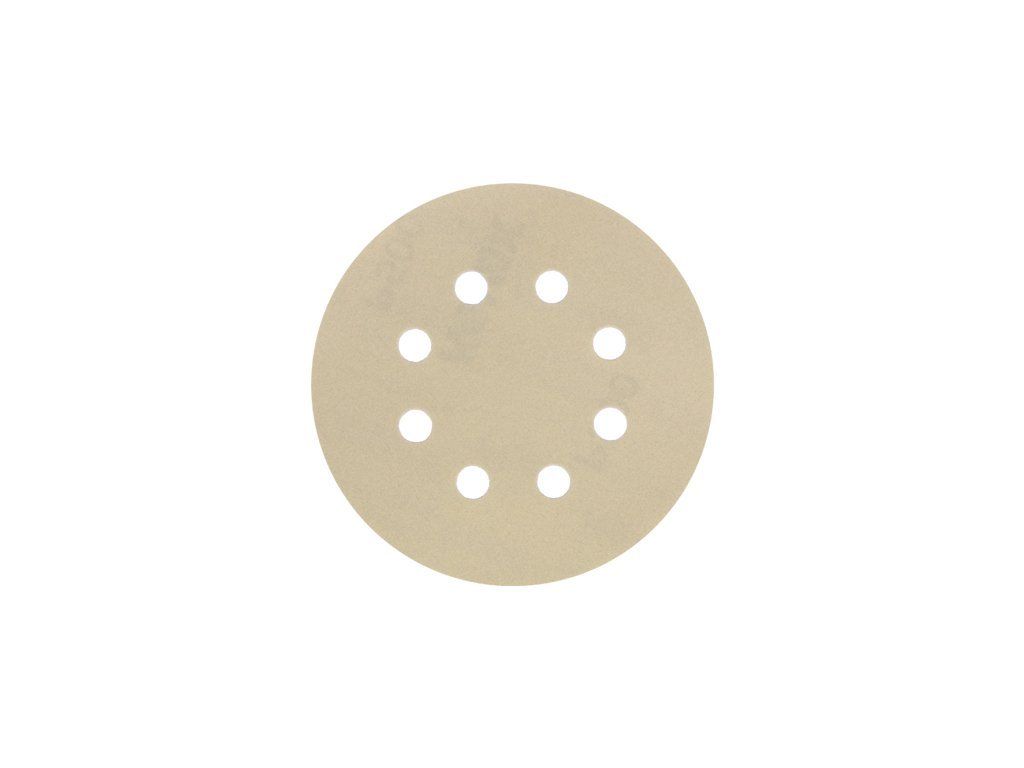 Tri-Pro sanding disc ø 125 mm8 holes, K60–K600 — coarse sandingMore info ›
 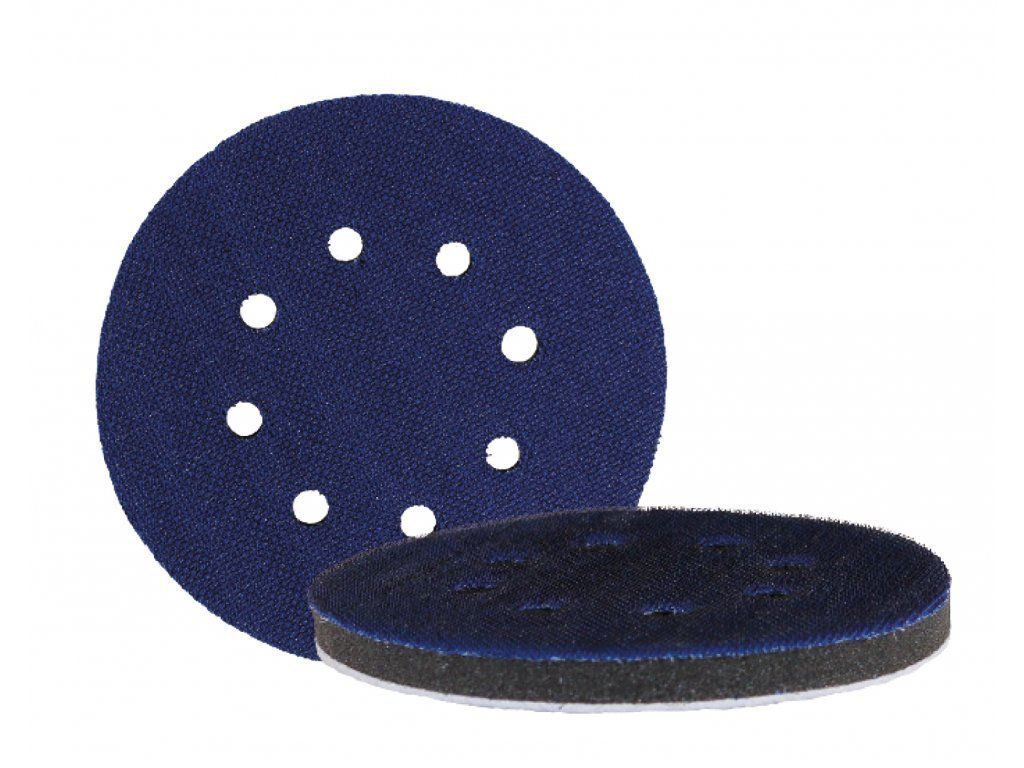 Kovax Tri-Pro interface pad ø 125 mmeven pressure across the surfaceMore info ›
 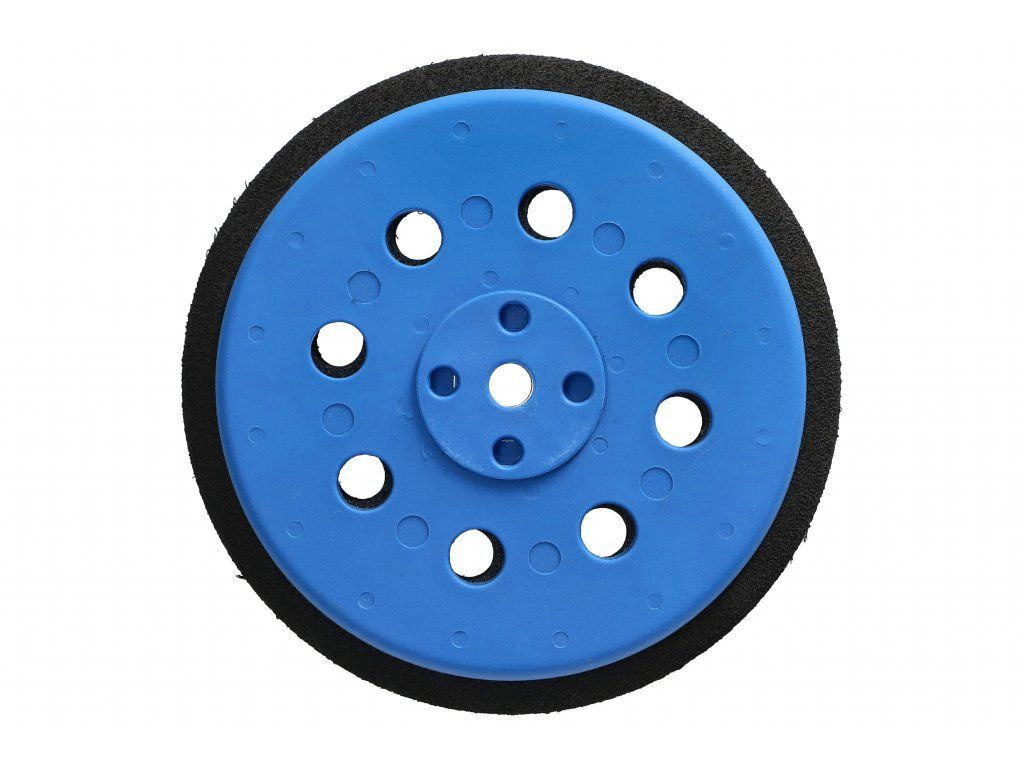 Kovax FINIXA SAM 125Mmedium sanding padMore info ›
 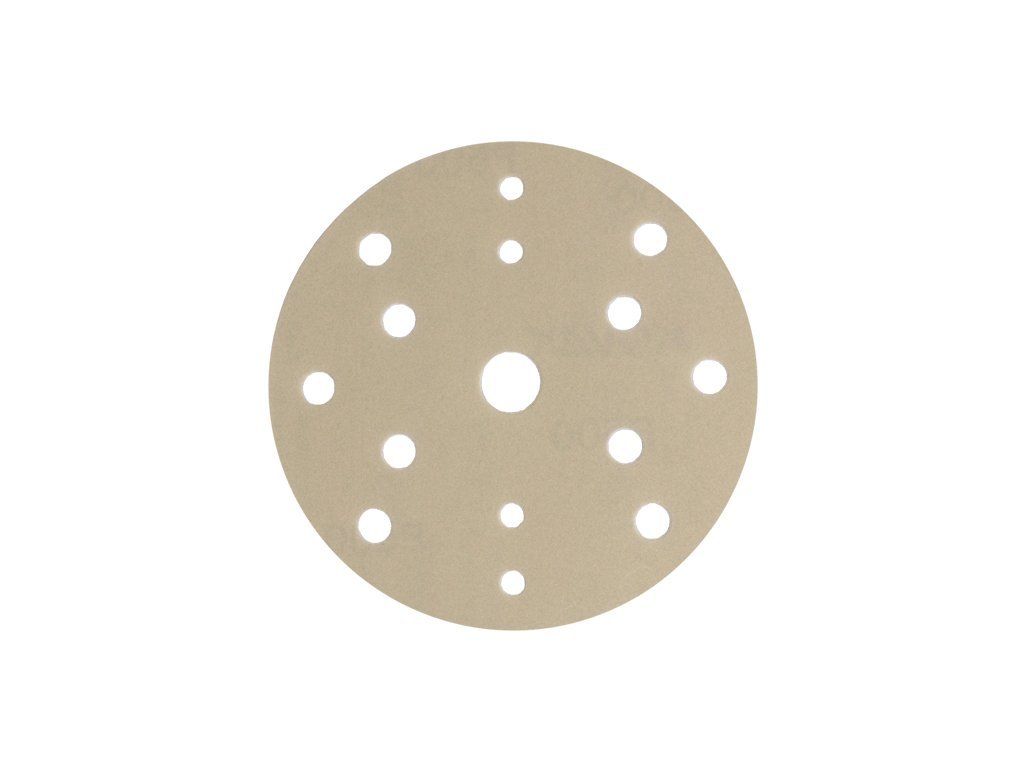 Tri-Pro sanding disc ø 152 mm15 holes, K80–K600More info ›
 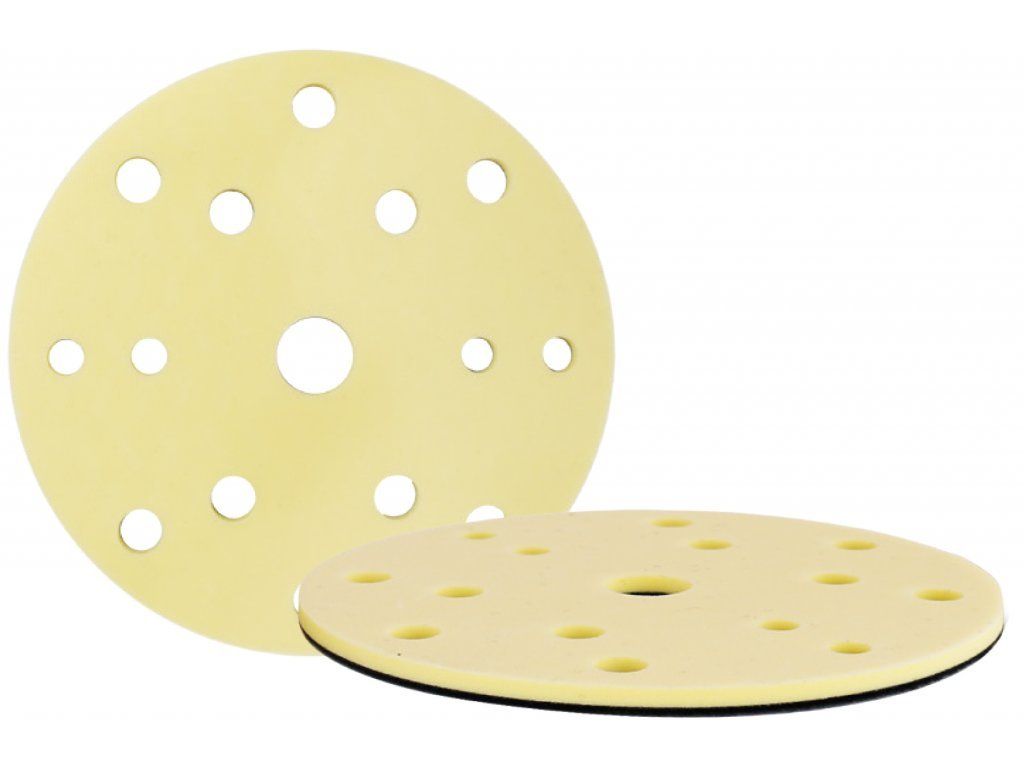 Kovax hard interface pad ø 152 mmfor coarse levelling of the surfaceMore info ›
 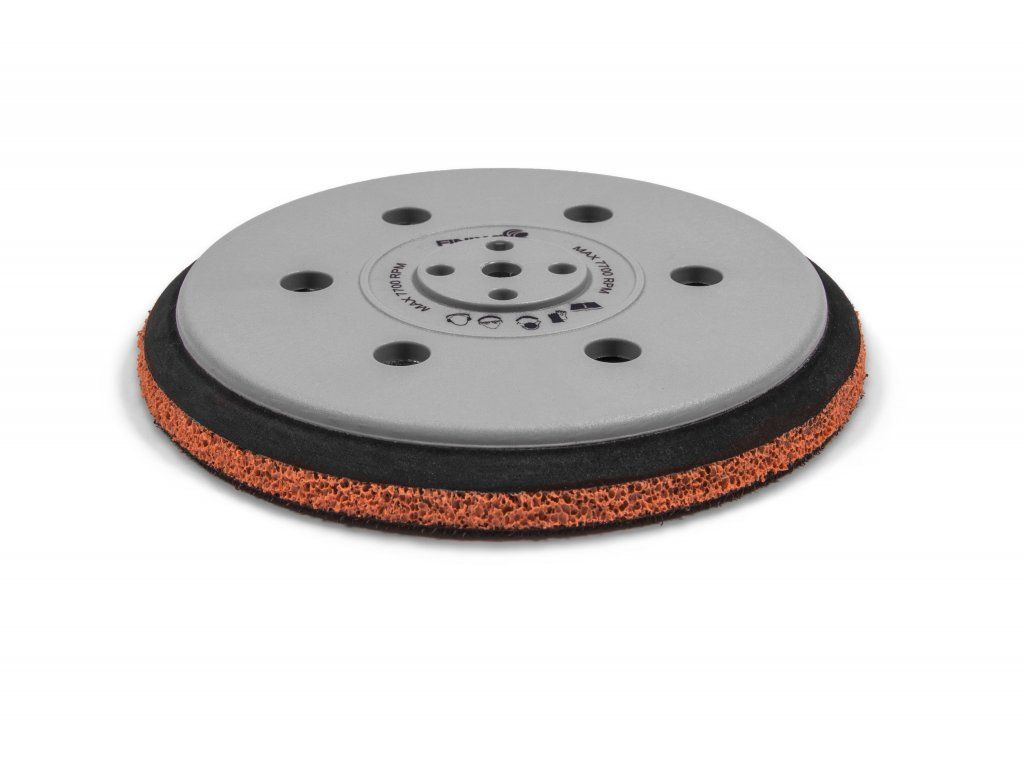 Kovax CE SAM 15M ø 150 mminterface pad for coarse sandingMore info ›
The epoxy resin sanding procedure
1. Coarse sanding (80–400) – removing unevenness and levelling the surface
- Use sanding discs KOVAX TRI-PRO with grits K80–K400
- Start with a coarser grit (K80) and gradually move to a finer one (K400)
- Check each step carefully so no deeper scratches remain
- Don't skip any intermediate steps, otherwise marks will be visible on the surface
KOVAX Tri-Pro discs K60–K600for this coarse-sanding stage›
2. Finer sanding (600–1500) – preparing for final polishing
- Use KOVAX Super Assilex abrasive in grits K600, K800, K1200 and K1500
- Fine sanding gives the epoxy smoothness and prepares it for final polishing
- When moving to a higher grit always remove the dust, to avoid scratching the surface
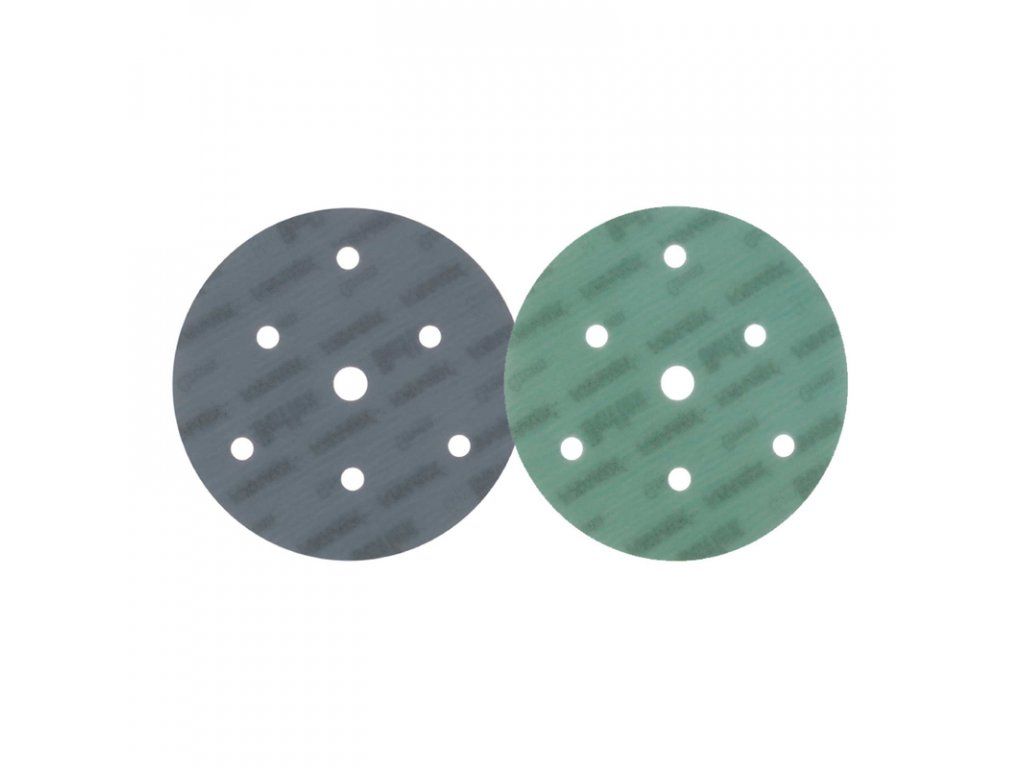 KOVAX Super Assilex K600–K1500
for fine smoothing before polishing›
3. Finishing sanding and polishing (2000–3000) – achieving a mirror effect
- Use KOVAX Buflex Dry in grits K2000, K2500 and K3000
- Sanding with a fine abrasive eliminates the last fine scratches and prepares the surface for polishing
- Once finished, the epoxy surface will be almost transparent
KOVAX Buflex Dry K2000–K3000the final step to a mirror shine›
 Super Assilex ø 125 mm7 holes, K600–K1500 — fine sandingMore info ›
  Kovax 9710044 interface pad ø 125 mmfor smooth grit transitionsMore info ›
 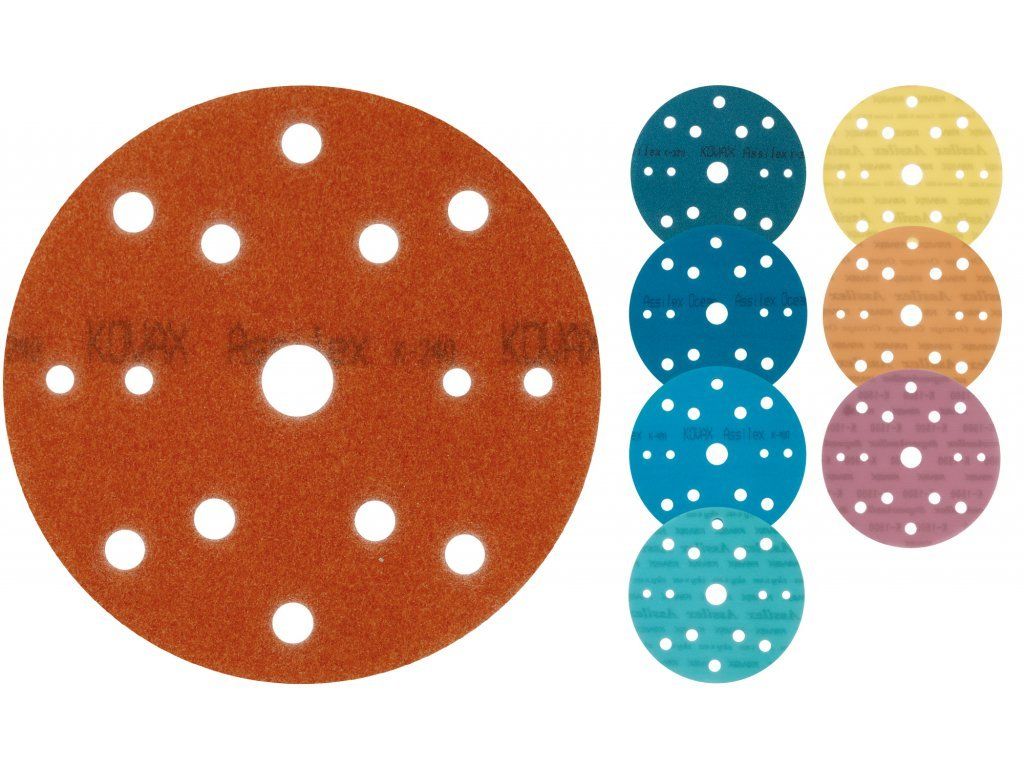 Super Assilex ø 152 mm15 holes, K240–P1500More info ›
 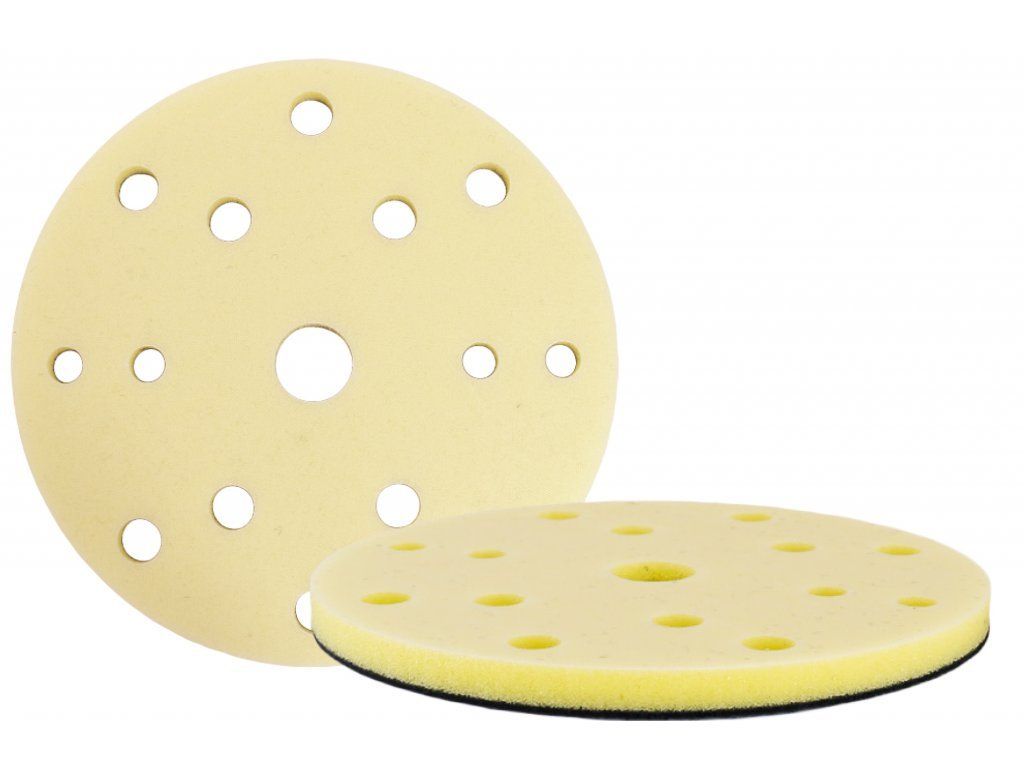 Kovax soft interface pad ø 152 mmgentle fine sandingMore info ›
Polishing the epoxy resin table – how to get a mirror shine?
After thorough sanding, the final step is polishing the epoxy resin. This gives the surface a high shine and emphasises its depth and detail.
Recommended polishing system:
- FINIXA polishing compound – a special formulation for epoxy resin
- Polishing pads – an orange pad for a perfect finish
- A rotary polisher – a maximum of 300 rpm to avoid overheating the surface
Buflex Dry ø 125 mmK2000–K3000 — finishing shineMore info ›  Kovax Buflex Dry interface pad ø 125 mmsoft, for the final stageMore info ›
 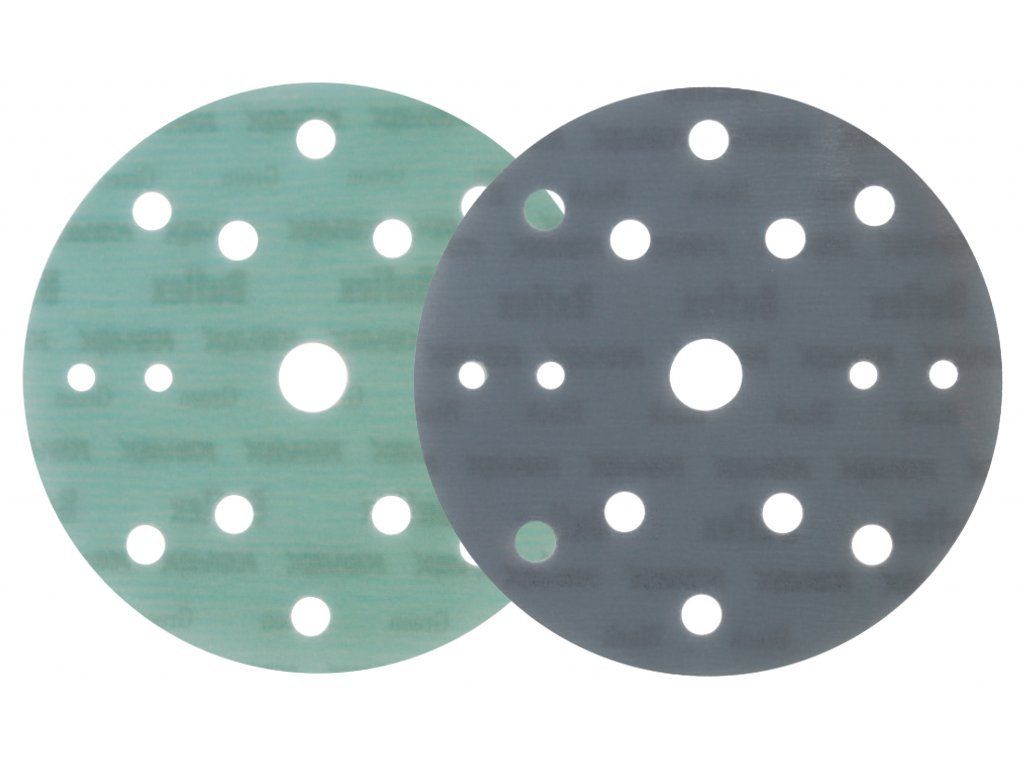 Buflex Dry ø 152 mm15 holes, K2000–K3000More info ›
 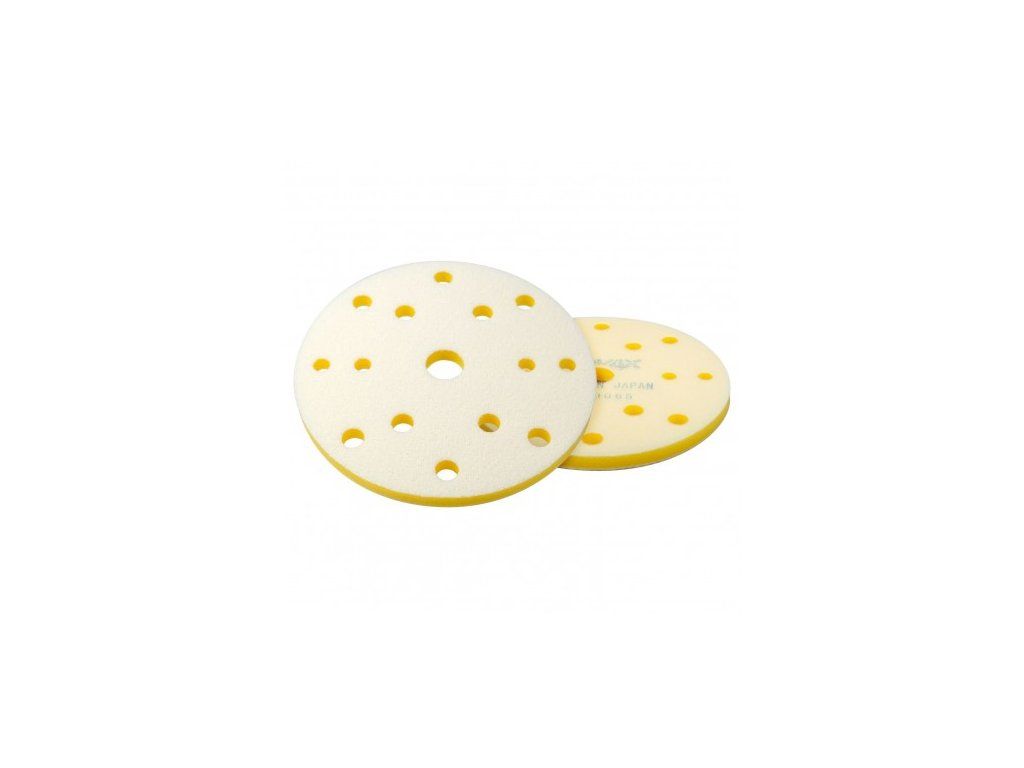 Kovax Buflex Dry interface pad ø 152 mmsoft, fine sandingMore info ›
 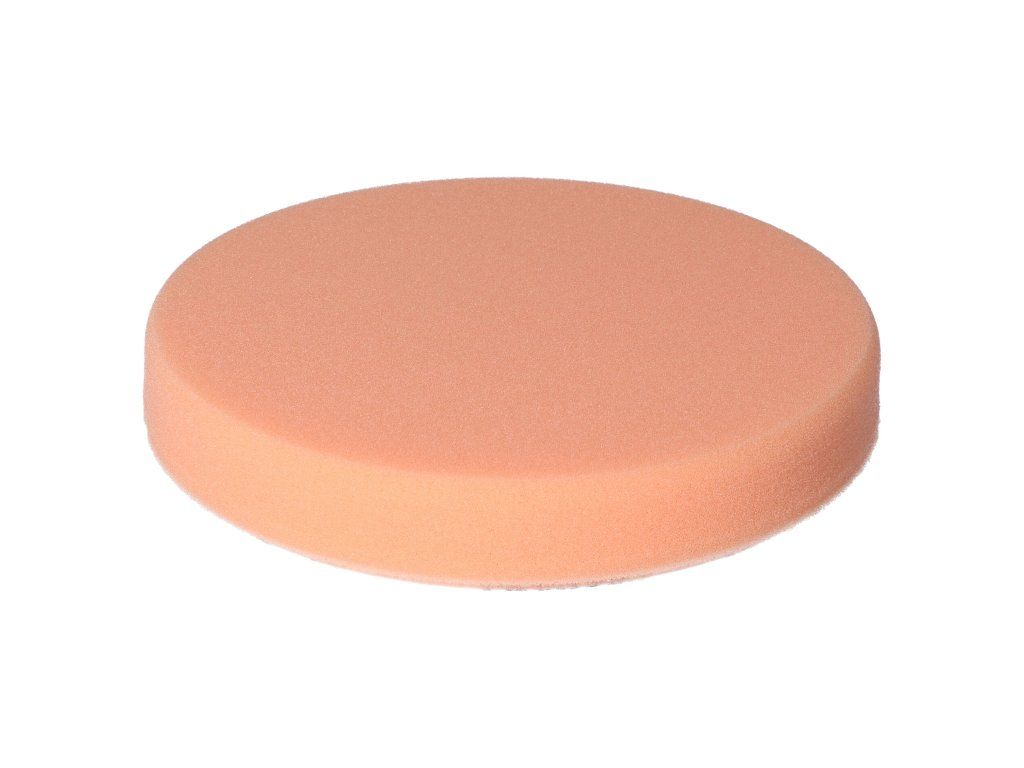 FINIXA POP 718 polishing pad180/30 mm, open-cell foamMore info ›
 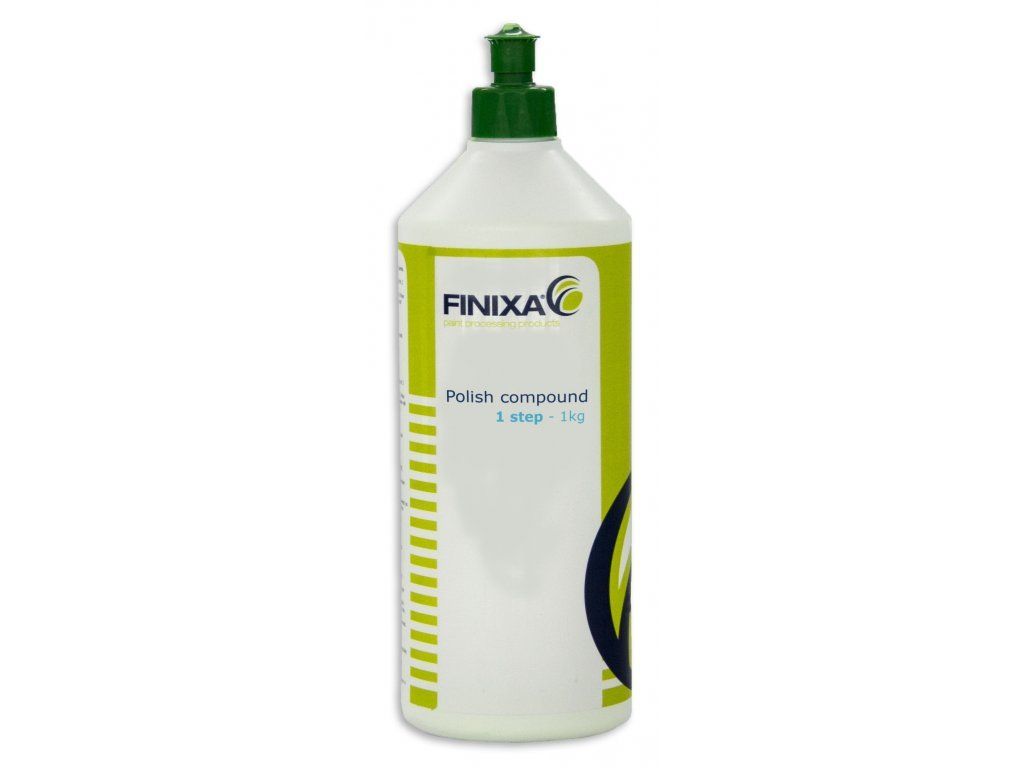 Finixa One-step polishing compounda mirror shine in one stepMore info ›
- Start with coarse sanding (K80–K400) – removing unevenness
- Fine sanding (K600–K1500) – smoothing the surface before polishing
- Finishing sanding (K2000–K3000) – maximum smoothness and shine
- Polishing with FINIXA compound – achieving a mirror effect
10Protecting the table top: how to ensure long life and durability?
Epoxy resin table tops are a luxurious and durable interior featurethat nonetheless requires the right surface finish and protectionto keep its perfect look for many years. There are several protection options, each with its own advantages depending on how the table is used.
Which protection to choose?
| Protection | When to choose it | Surface look | Food contact |
|---|---|---|---|
| Oiling | natural look, serving boards | matte to satin | ✓ Rubio Monocoat 2C certified |
| Ceramic protection | maximum durability; can also be applied over oil, wax and varnish | depends on the substrate, 9H hardness | — |
| Varnishing | universal protection for interior and exterior | matte, satin or glossy | depends on the type of varnish |
Protective oils for wood and epoxy resin
If you are looking for natural protectionthat also emphasises the grain of the wood, oiling is the ideal solution.
When to choose oiling?
- If you want a natural wood look
- If the table will come into contact with food (e.g. serving boards)
- If you prefer a matte to satin surface
Recommended product: Rubio Monocoat Oil Plus 2C
- Certified for food contact
- A single-coat system – no further coats needed
- High resistance to water and stains
How to apply Rubio Monocoat to an epoxy resin table correctly?
- Thoroughly sand the surface and clean off the dust
- Mix the oil with the accelerator in a 3:1 ratio
- Apply the oil with a cloth, sponge or pad
- After 10–15 minutes, wipe off the excess oil
- Let the surface dry for 24–36 hours
Which oil or wax for what? Choose according to how the table is used:
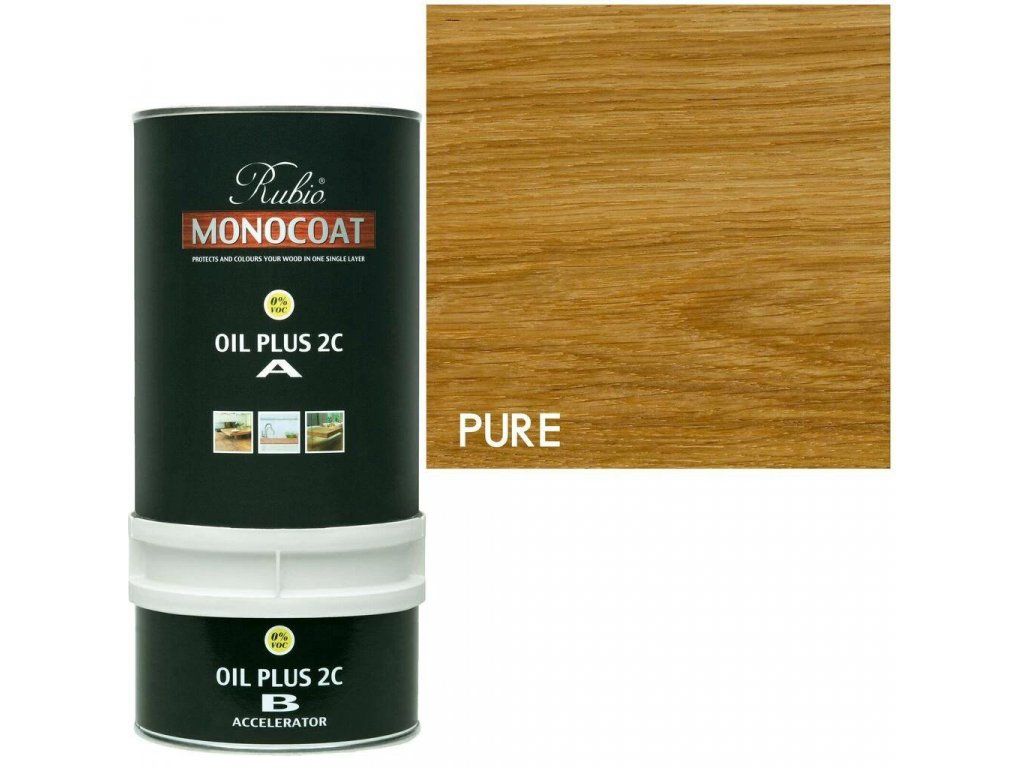 FOR DINING TABLES AND WORKTOPSRubio Monocoat Oil Plus 2Ca single-coat oil with food-contact certification – one coat, a natural matte look and high resistance to water and stainsChoose the oil
 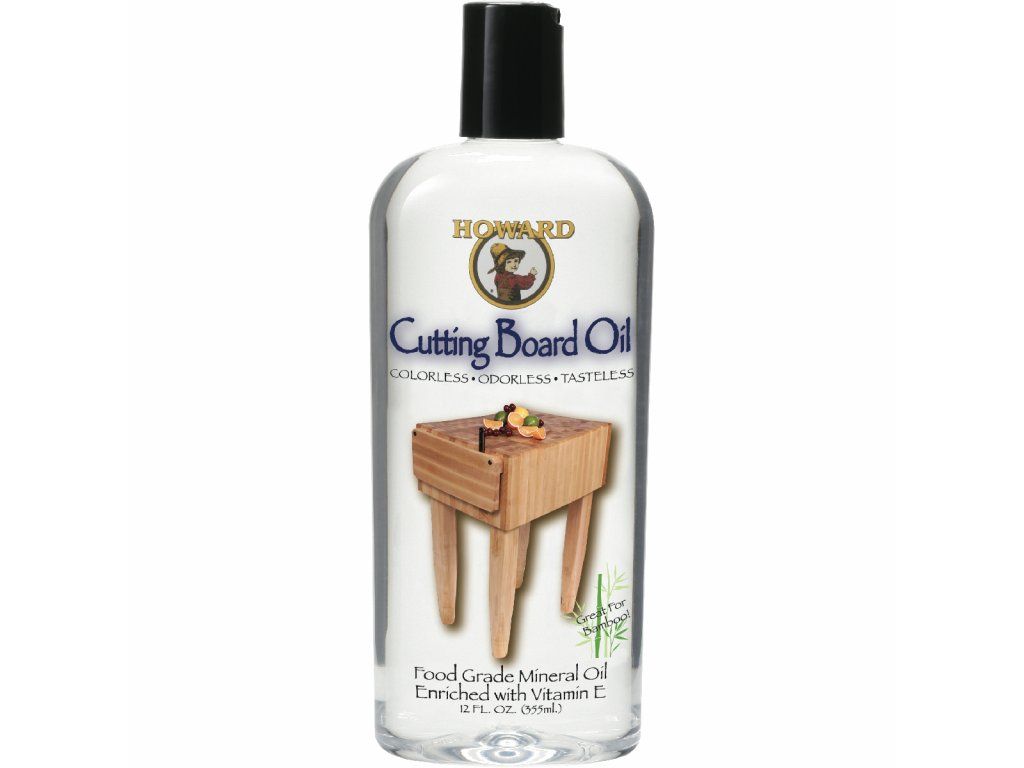 FOR CUTTING BOARDS AND SERVING BOARDSHoward Cutting Board Oilan oil for wood in daily contact with food – regular oiling keeps the board beautiful and functionalMore info
 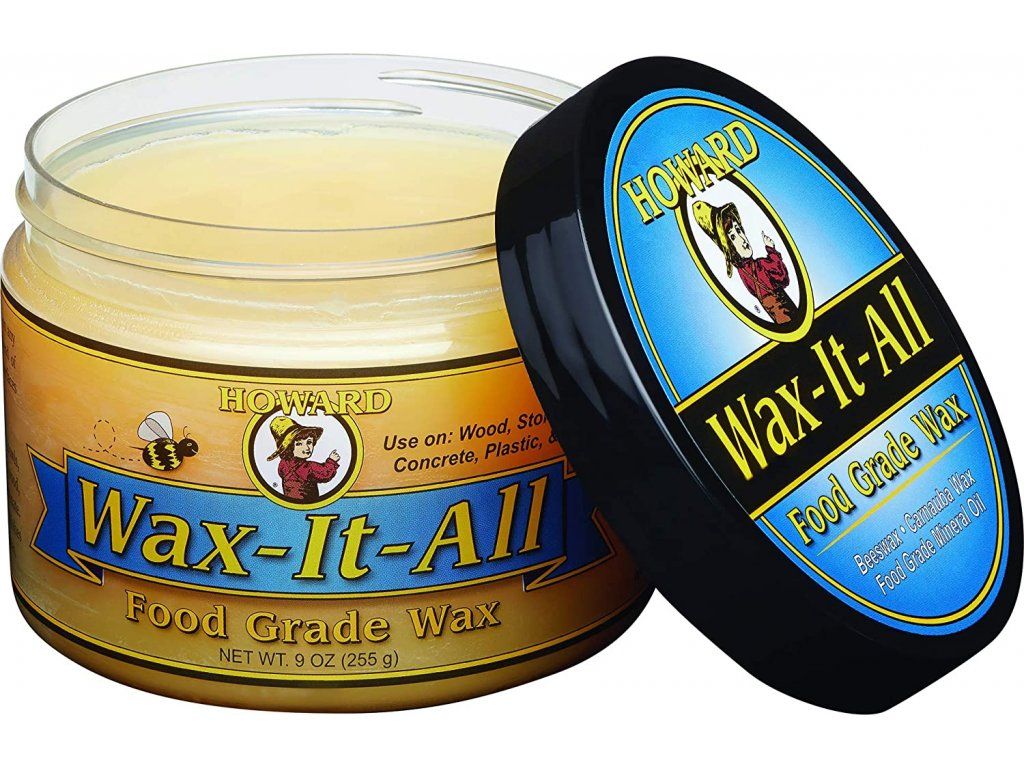 FOR REGULAR SURFACE MAINTENANCEHoward Wax-It-Allfood-grade wax – revives and protects an oiled surface, suitable for everything from boards to furnitureMore info
 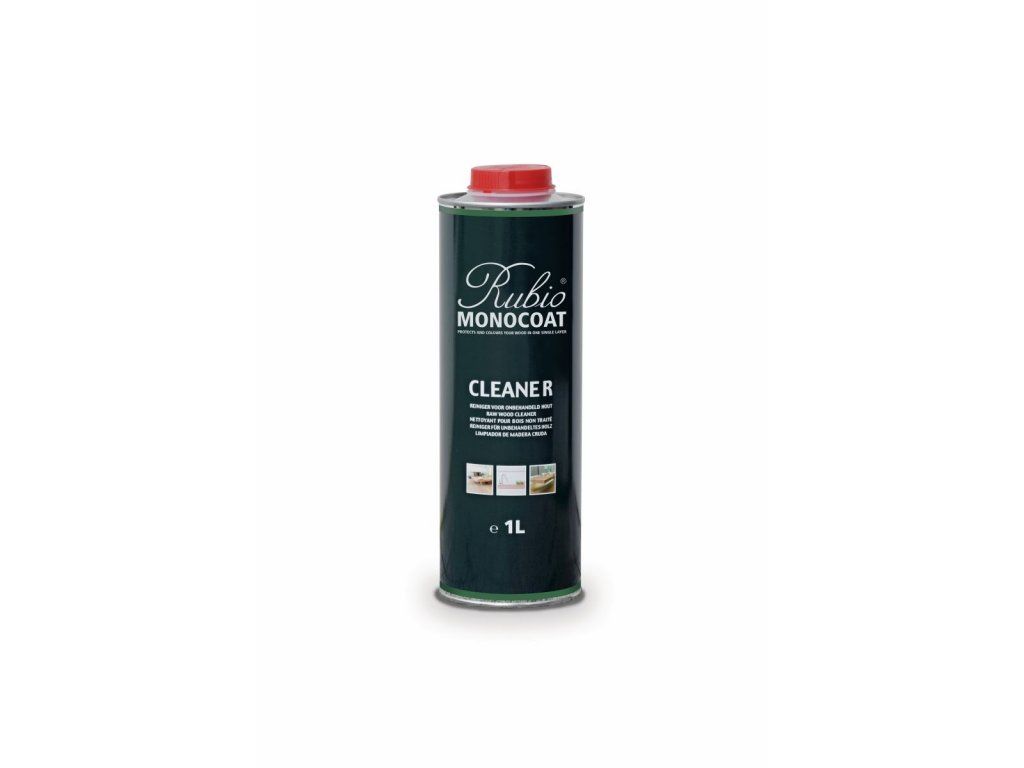 BEFORE OILINGRubio Monocoat Cleanera raw-wood cleaner – removes dust and grease so the oil absorbs evenly and without blotchesMore info
  FOR MAXIMUM DURABILITYCarbonMethod Ceramic Nanofinish Kita complete 9H ceramic system – preparation, protection and maintenance in one kit, applied over an oiled surfaceView the kit
Ceramic protection: an extra protective layer for maximum durability
- Can be applied not only to epoxy but also to oiled, waxed and varnished surfaces
- Creates an ultra-hydrophobic layer and protects against scratches
- Extends the life of the surface by up to several years
Why choose ceramic protection?
- Protection against scratches and UV radiation – the surface stays like new for longer
- Increased resistance to chemicals and stains
- Can be applied to all types of finishes – epoxy, wood, oil, varnish and wax
Recommended system: CarbonMethod Ceramic Nanofinish (9H)
- 9H ceramic protection – extreme resistance to scratches, water, oils and chemicals
- Emphasises the grain of the wood without an unnatural „plastic“ effect
- Lasts for years – significantly outperforming ordinary oils and waxes
- A complete 3-in-1 system – preparation (NanoPrep), protection (Hard Coat + Top Coat) and maintenance (Ceramic Care)
How is the CarbonMethod system applied?
- Surface: clean and degrease it with the NanoPrep prep spray
- Apply the base layer Hard Coat 9H with the applicator block
- Apply the final layer Top Coat 9H (the Level It solution ensures a smooth join with no overlap marks)
- Surface: buff it with a microfibre cloth
- For long-term care, use the Ceramic Care maintenance spray
CarbonMethod Ceramic Nanofinish – Ultimate Kiteverything from preparation to maintenance in one kit›
You'll find the whole range in the ceramic protection category.
Varnishing the epoxy resin table
Varnishing provides traditional, universal protection and allows a choice of different gloss levels.
Why choose varnishing?
- Suitable for indoor and outdoor use
- A choice between matte, satin or glossy finishes
- Long-term protection against moisture and mechanical damage
Recommended products:
- Polyurethane varnishes – resistant to moisture and mechanical stress
- Acrylic varnishes – fast-drying, ideal for interiors
- UV-stable varnishes – prevent the epoxy resin from yellowing
How to varnish an epoxy resin table correctly?
- Sand the surface with grit P400–P600
- Apply the first thin coat of varnish and let it dry
- After 24 hours, lightly sand and apply a second coat
- Let the varnish cure for at least 48 hours before use
- Oiling – natural look, food-contact certification
- Ceramic protection – an extra layer of protection, compatible with oil, varnish and wax
- Varnishing – universal protection with a choice of different gloss levels
Start your own epoxy resin table
Everything you need in one place – food-contact certified resin, pigments, abrasives and surface finishes.
Choose a resin for your tableRelated categories and products
- Resins: casting epoxy resin, the LuminaCast system, resin for making tables
- Wood preparation and mould: penetrating resin, casting moulds, accessories (vacuum pump, cups)
- Colouring: pigments and colours
- Finishing and protection: sanding and polishing, super glues, oils and wood care
Frequently asked questions about making an epoxy resin table
How much epoxy resin do I need for a table?
You work out the amount from the volume of the casting: length × width × thickness in centimetres gives the volume in cm³, which you convert to kilograms (density roughly 1.1 g/cm³). The article includes an interactive calculator that also recommends the right LuminaCast 9 pack size, including a reserve for topping up.
How long does it take to make an epoxy resin table?
The hands-on work itself takes one to two days, but with sealing the wood, curing the resin (LuminaCast 9 has a 240-minute working time and fully cures over several days) and the final surface finish, allow roughly 5–7 days in total.
Which resin is best for making a table?
For thick castings and river tables, the ideal choice is a casting epoxy resin with slow curing and a high pour depth per layer – for example LuminaCast 9 Ocean Flow, which handles layers up to 10 cm thick and is food-contact certified.
How do I prevent bubbles in an epoxy resin table?
Pour slowly from a low height, keep the temperature at 15–25 °C and warm the resin slightly before pouring to lower its viscosity. Remove any remaining bubbles with a vacuum chamber before pouring, or with a heat gun or torch shortly after pouring.
Is an epoxy resin table durable and food-safe?
Yes. Fully cured LuminaCast 9 is hard, scratch-resistant and safe once cured. For direct food contact, finish the surface with a food-grade certified oil or wax.
How do I prevent epoxy resin from yellowing?
Use a UV-stable resin, keep to the correct 2:1 mixing ratio and avoid overheating (the exothermic reaction). Protect the finished table with a UV-stable varnish or a ceramic coating, especially for pieces exposed to sunlight.
How do I care for a finished epoxy resin table?
Clean the surface with a soft cloth and a mild soapy solution, and avoid abrasives and harsh chemicals. Re-oil oiled tops occasionally; varnished ones just need regular wiping — this keeps the shine and protection.